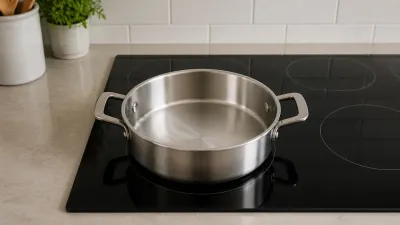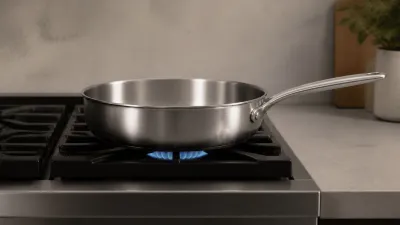
A stainless steel pan is ready when its heat matches the food and the cooking fat gives the cue your recipe calls for. For most everyday cooking, start over low or medium heat, warm the pan gradually, add the fat, and watch it spread. You do not need to make a water drop skate around the pan before every meal.
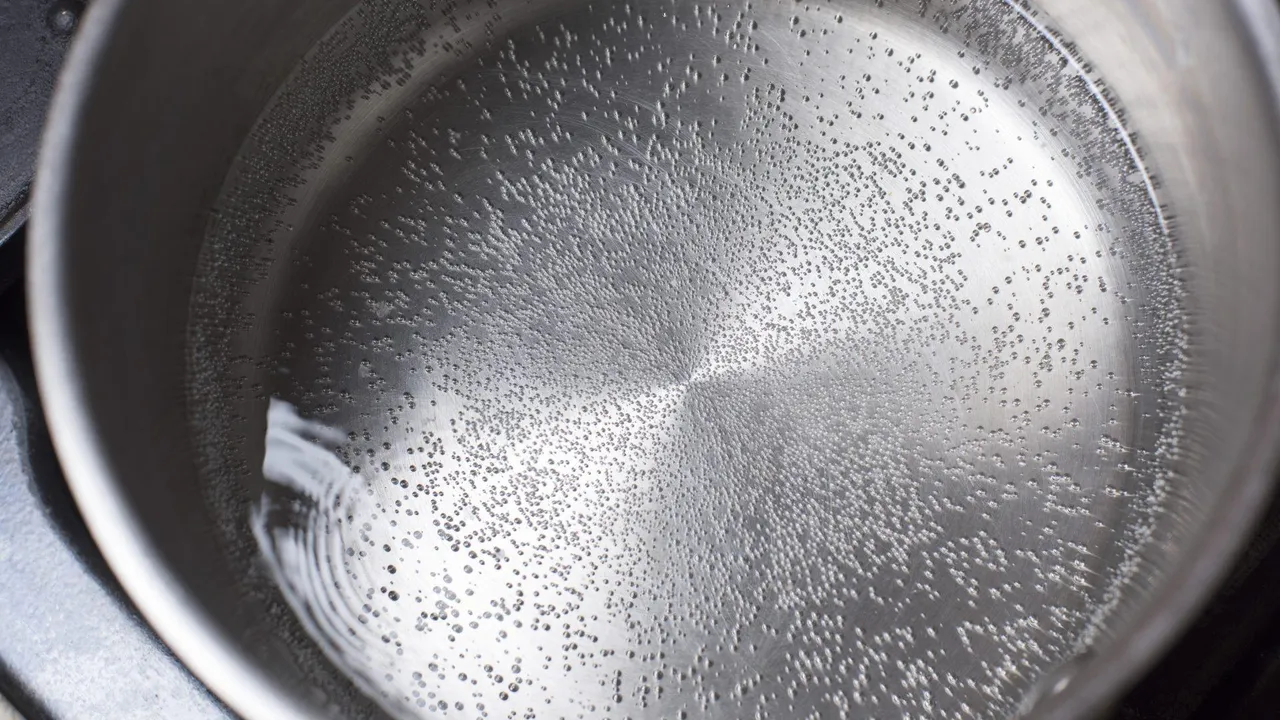
The popular water-bead test demonstrates the Leidenfrost effect. It can show that a dry pan is quite hot, but it does not provide one exact temperature and it does not tell you whether that heat is appropriate for eggs, butter, vegetables, fish, or steak.
Choose the target before heating
Pan readiness is a cooking decision, not a universal number. Decide what needs to happen to the food first.
| Cooking job | Starting approach | Useful cue | Warning sign |
|---|---|---|---|
| Eggs in butter | Low to medium-low heat | Butter melts and foams without rapidly browning | Butter darkens before the eggs enter |
| Delicate fish | Moderate, even preheat | Oil loosens and moves easily | Oil smokes or fish scorches on contact |
| Vegetables | Moderate heat adjusted for moisture and size | A steady sizzle after food enters | Aromatics burn before vegetables soften |
| Steak or a hard sear | Gradual preheat, then recipe-appropriate higher heat | Oil shimmers and food sizzles promptly | Oil smokes heavily before food enters |
| Sauce or melted butter | Little or no empty preheat | Ingredient warms without scorching | Empty pan continues heating unattended |
All-Clad’s stainless cookware guidance recommends low or medium heat for most cooking and cautions against aerosol nonstick spray. Tramontina’s cookware guidance likewise describes moderate preheating and oil that shimmers and moves fluidly. Check the instructions for your own model, burner, and recipe.
A reliable readiness sequence
1. Prepare the food first
Have ingredients, utensils, and cooking fat within reach. Pat excess moisture from food you intend to brown. Wet food cools the pan and can cause hot oil to splatter.
Keep raw meat, seafood, eggs, and other perishable food refrigerated while you prepare. USDA says perishable food should not remain at room temperature for more than two hours, or one hour above 90°F. Pan preheating does not replace safe handling.
2. Warm a clean, dry pan gradually
Set a stable pan on the correct-size burner. Begin at the recipe’s moderate setting unless its instructions or the pan maker specify otherwise. Give the base time to heat evenly. Thin pans and powerful induction elements respond faster than heavy bonded cookware, so a fixed number of minutes is unreliable.
Do not leave an empty pan unattended. Do not keep turning the burner higher simply because an online video says readiness takes a certain time.
3. Use the optional water test only when it helps
For a recipe that calls for a dry, well-preheated surface, place a few small drops of water in the pan before adding oil. If they form moving beads instead of immediately spreading across the metal, a vapor layer has formed beneath them.
Peer-reviewed work shows that surface roughness and thermal properties affect the Leidenfrost transition. Drop size, residues, pan construction, burner cycling, and surface condition also affect what you see. A dancing bead is therefore a qualitative cue, not a calibrated thermometer.
ZWILLING includes the bead test in its stainless-pan instructions, yet it begins with slow heating over medium heat. Once the cue appears, remove all test water or let it evaporate before adding oil. Never pour water into hot oil.
4. Add fat and read its behavior
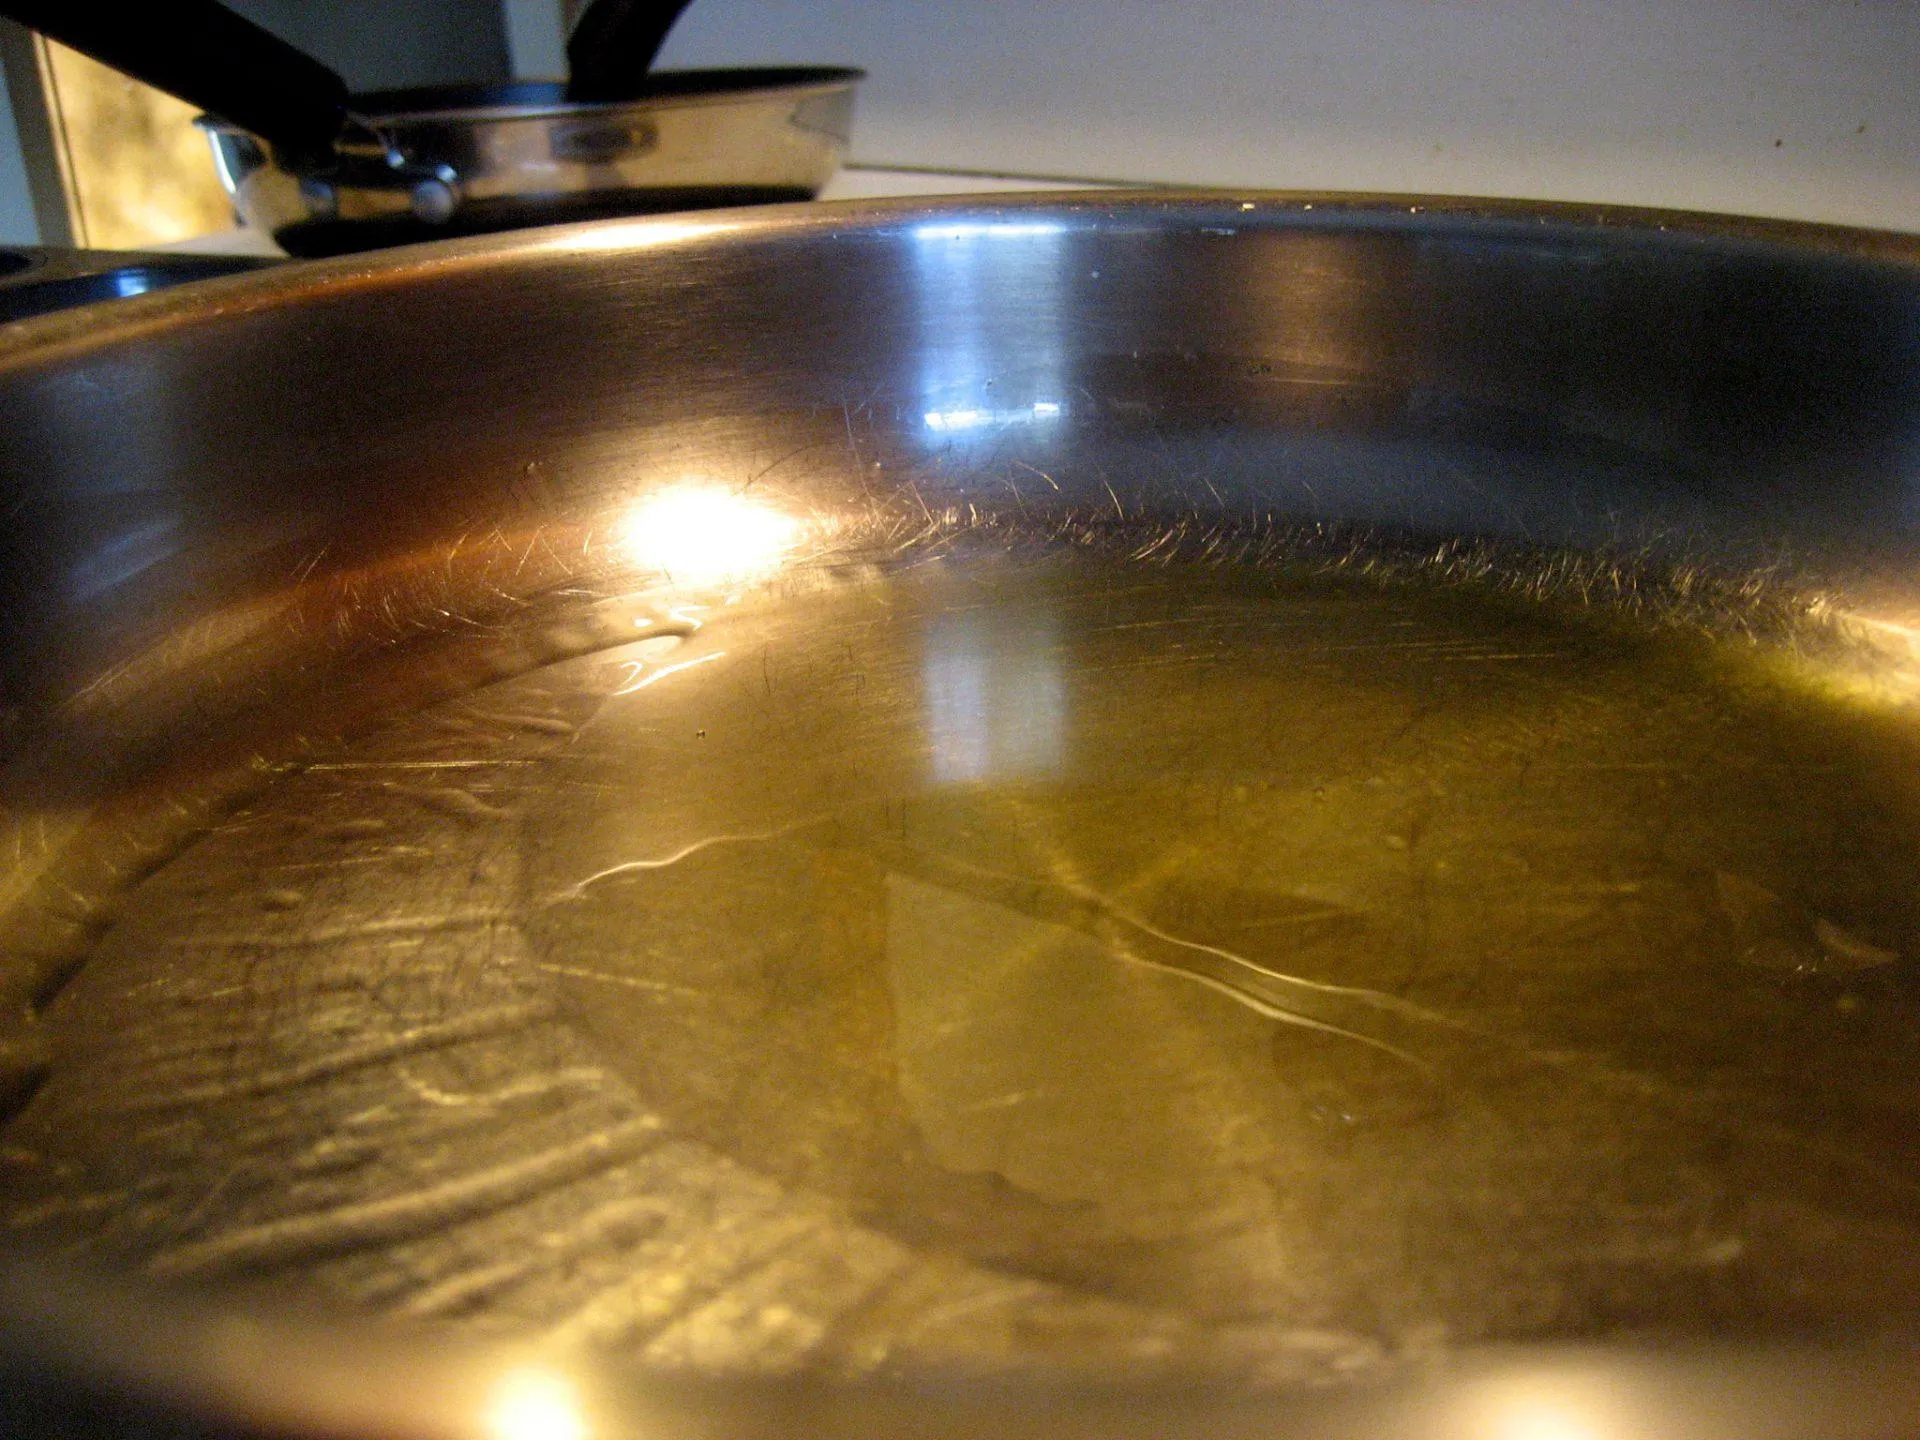
Add enough cooking fat for the food and tilt the pan to cover the contact area. Many liquid oils become less viscous as they warm, spreading quickly and developing a visible shimmer. That is often a more useful final cue because it reflects the actual fat used in the recipe.
Butter behaves differently. Its water foams and its milk solids brown. For eggs or gentle cooking, add the food while the butter is ready for the recipe rather than waiting for a high-heat water bead. If oil begins smoking before the food goes in, the pan is too hot for that oil. Turn off the burner or move the pan from heat and let it cool safely.
Never use water on burning oil. The U.S. Fire Administration says to slide a lid over a small pan fire, turn off the burner, and leave the pan covered. If a fire is not safely controllable, get out and call emergency services.
5. Add food and adjust
A suitable pan should give the expected sizzle without instantly scorching the surface. Add food away from you to reduce splatter. Then adjust the burner as moisture leaves the food and the pan recovers from the temperature drop.
Readiness is not a one-time state. A crowded pan can cool dramatically. An almost-empty pan can overheat. Watch and adjust throughout cooking.
What water-drop patterns can and cannot tell you
Water that sits and slowly warms indicates a cooler surface. Water that bubbles or evaporates rapidly is in a different boiling regime. Cohesive beads that move indicate an insulating vapor layer. None of those patterns supplies a precise temperature without controlled measurement.
An instantly disappearing drop does not automatically prove the pan is “too hot,” and one perfect ball is not required. Several smaller beads may show the same effect. Residue and surface texture change the pattern.
If a technical process truly requires temperature, use an instrument suitable for the pan and method. Infrared thermometers can be difficult to interpret on reflective metal because emissivity affects the reading. Follow the instrument maker’s setup rather than treating a social-media number as universal.
Match the method to the food
Eggs
Eggs need controlled heat and enough butter or oil. A dry pan heated until water skates may be hotter than needed. Warm gradually, add butter, and add eggs when the butter is active but not rapidly browning. Lower the burner as needed.
Sticking can also come from too little fat, a damaged or dirty surface, or trying to move the egg immediately. See our full guide to keeping food from sticking to stainless steel.
Fish
Dry the surface and use adequate fat. Lay fish into the pan away from you. It may grip at first and release more readily as the contact side cooks. Try a thin spatula at an edge instead of tearing it loose.
Steak
For a hard sear, dry the meat, preheat gradually, and choose an oil compatible with the planned heat. Add the steak when the oil is ready and the pan can produce a prompt sizzle. Do not equate smoke with success.
Use a food thermometer for doneness. The USDA publishes safe internal-temperature guidance; the pan’s surface cue does not establish food safety.
Vegetables and aromatics
Vegetables vary in moisture. Dry produce meant for browning and avoid crowding. Garlic and spices can burn at a heat that sturdier vegetables tolerate, so the correct sequence may be to lower the heat before aromatics enter.
Sauces
Many sauces do not need an empty-pan preheat. Butter, dairy, sugar, and thickened liquids can scorch while you chase a bead test that the recipe never required. Begin with the ingredient and heat sequence in the recipe.
Why food can stick even after the test
The Leidenfrost effect does not turn stainless steel into a nonstick coating. Food can still stick because:
- the pan is hotter or cooler than the food needs;
- the fat is insufficient or has burned;
- the food surface is wet;
- the pan is crowded and cooled sharply;
- browned protein has not released yet;
- sugary residue or old oil remains on the cooking surface;
- the food is moved before its contact side has set.
Let meat or fish develop a browned surface, then test an edge. If it resists strongly, allow more time while monitoring heat. Stainless steel pans also do not require permanent seasoning to work well.
Common preheating mistakes
Treating “two minutes” as a rule
Burner output, induction control, pan diameter, base thickness, starting temperature, and cookware construction vary. Time is a prompt to observe, not proof of readiness.
Starting on maximum heat
High power can create hot spots, discolor an empty pan, and burn oil. Moderate gradual heating gives you more time to recognize the useful range.
Adding oil while test water remains
Water and hot oil can splatter. Dry or evaporate every test drop first.
Waiting for smoke
Smoke is a warning that the oil is breaking down, not a required cooking cue. Different oils behave differently. Move the pan from heat and ventilate as appropriate.
Relying on “pores opening”
Stainless cookware does not work because visible pores open and close on command. Heat changes the pan, oil, moisture, and food interactions, but the practical controls are gradual preheating, adequate fat, surface dryness, and timing.
Frequently asked questions
How long should a stainless steel pan preheat?
There is no universal duration. Start with the cookware maker’s burner guidance and observe the fat or recipe-specific cue. A heavy pan on a modest burner may take longer than a thin pan on induction.
Should oil go in before or after preheating?
Follow your pan maker and recipe. Many stainless-pan instructions call for warming the dry pan moderately and then adding oil. Other techniques begin with fat in the pan so its behavior is visible throughout heating.
Does the water have to form one ball?
No. Multiple moving beads can reflect the same vapor-layer behavior. The test is not precise enough to justify chasing one ideal shape.
Can I use cooking spray?
Check the pan instructions. Some manufacturers, including All-Clad, warn that aerosol spray can leave difficult residue. It is not a substitute for temperature control.
Why did the pan discolor while preheating?
An empty pan may have been heated too aggressively or too long. Let it cool naturally and use the manufacturer’s care method. Our guide to rainbow stains on stainless steel pans explains heat tint.
The bottom line
A stainless steel pan is ready when the recipe, surface heat, and cooking fat agree. Start moderate, observe instead of timing blindly, and use the water-bead test only when a high-heat technique benefits from that optional clue. Smoking oil, scorched butter, and repeated maximum-power heating are signs to back off, not milestones to reach.
Compare construction and care in our guide to the best stainless steel frying pans before choosing a pan for frequent searing or delicate cooking.