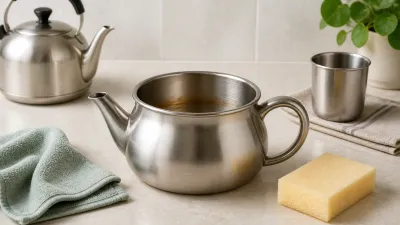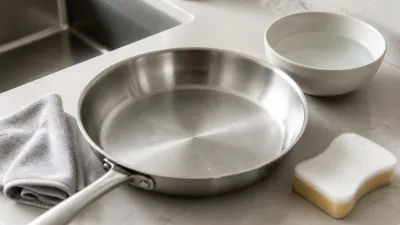
To make stainless steel look new again, first identify the surface and the defect. Wash removable grease and residue with the mild method in the manufacturer’s care guide. Escalate only to a treatment approved for that exact finish and exact mark. Bare cookware, a brushed sink, and a coated black-stainless refrigerator can require opposite care.
Cleaning can restore shine hidden by fingerprints, soap film, minerals, or cooked-on residue. It cannot reliably erase a deep scratch, rebuild a peeling clear coat, remove a dent, or replace metal lost to pitting.
Diagnose the surface before choosing a cleaner
Find the brand, model number, finish name, and care manual. Do not decide based only on silver color. The surface may be bare stainless steel, a directional brushed finish, a mirror polish, black stainless, fingerprint-resistant clear coat, or stainless-look material.
| Surface | Safe starting point | Do not assume |
|---|---|---|
| Bare stainless cookware | Cool fully, then warm water, mild dish soap, and a soft sponge | An appliance polish is food-contact safe |
| Coated or black-stainless appliance | Exact manual, often diluted mild soap and microfiber | Vinegar, oil, or “stainless cleaner” is approved |
| Brushed stainless sink | Mild soap, soft sponge, full rinse, dry with the grain | Steel wool or sanding matches the finish |
| Jewelry or watch | Seller’s care method and a soft cloth | Metal polish is safe for its plating, stones, or seals |
| Grill exterior | Grill maker’s method on a cool surface | A cleaner approved for the lid is safe inside the cook box |
GE states that its fingerprint-resistant stainless has a clear coat and prohibits vinegar, bleach, ammonia, abrasives, oven cleaner, and conventional stainless cleaners on that finish. That is why a universal vinegar-and-oil recipe can damage one appliance even if a cookware maker approves diluted vinegar for a bare pan.
Use a staged restoration process
Stage 1: remove loose material
Let hot cookware cool naturally. Remove crumbs or loose grit with a soft dry cloth so they do not scratch during washing. Clear the sink or counter of carbon-steel cans, tools, and wire pads that can leave iron particles behind.
Stage 2: wash gently
If the care guide allows ordinary washing, mix a small amount of mild dish soap with warm water. Apply it with a clean microfiber cloth or soft non-scratch sponge. Work in the direction of any visible grain. Rinse away soap and dry with a second clean cloth.
Drying matters because evaporating water can leave a new mineral film. Replace dirty cloths rather than spreading grease over a larger area.
Stage 3: reassess the mark
Look at the clean, dry surface under diffuse light. If the haze is gone, stop. More product does not create a more durable shine. If a mark remains, classify it before escalating:
- white or chalky film suggests minerals;
- rainbow color on bare cookware suggests heat tint;
- brown or black material may be baked-on food;
- orange specks may be transferred iron or localized corrosion;
- a line visible from every angle may be a scratch;
- a changing edge or flake may be coating failure.
Stage 4: apply one approved treatment
Choose a single method named by the item’s manufacturer for that condition. Follow dilution, contact time, tool, rinsing, ventilation, and protective-equipment instructions. Spot-test when directed.
Do not combine cleaners. Poison Control warns that mixing household products can create dangerous gases. Bleach with an acid such as vinegar can release chlorine gas, while bleach with ammonia can release chloramine. If fumes cause coughing, burning eyes, dizziness, or breathing difficulty, leave the area and get expert help.
Stage 5: stop when cleaning is not the answer
Peeling, deep pitting, a sharp gouge, missing coating, or structural damage needs manufacturer or professional assessment. Aggressive polishing can enlarge the defect and destroy evidence that helps identify the cause.
Restore bare stainless steel cookware
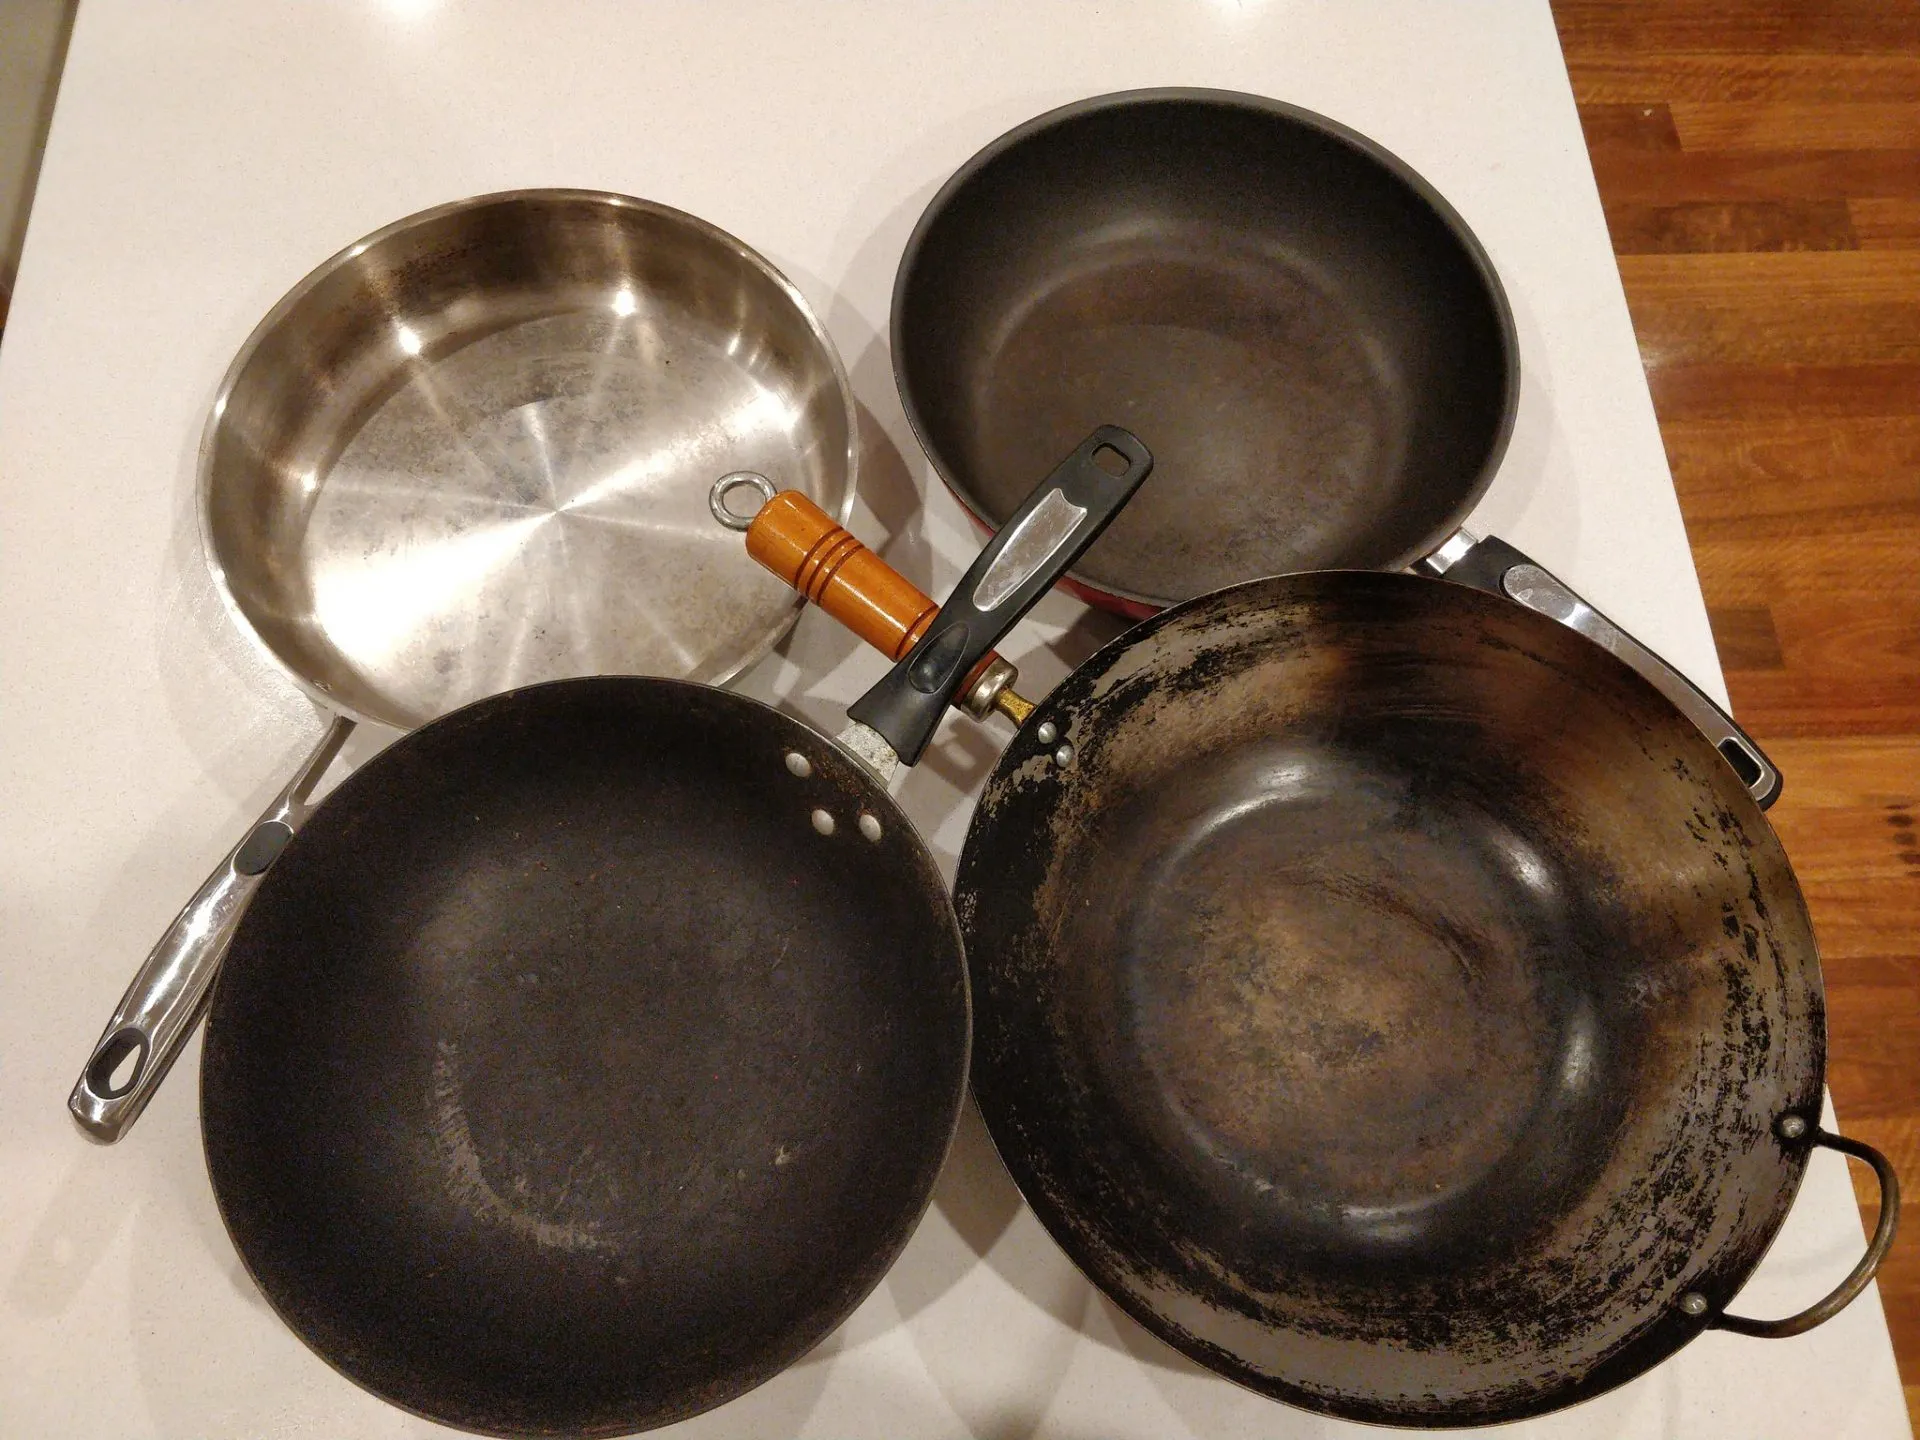
Everyday residue
Let the pan cool. Wash with warm water, mild dish soap, and a soft sponge. Rinse and dry. All-Clad’s stainless cookware care guide begins with this method and recommends soaking stuck food before using a stronger treatment.
Avoid quenching a hot pan with cold water. Sudden temperature change can warp cookware. Avoid steel wool, harsh scouring pads, bleach, oven cleaner, and ammonia unless the exact manufacturer expressly permits them.
Stuck or burnt food
Soak the cool pan in warm soapy water, then loosen softened food with a wood, silicone, or nylon utensil permitted by the maker. Some manufacturers allow simmering plain water to loosen residue. Keep the pan attended and do not seal a hot cleaning mixture under a lid.
If ordinary washing fails, use the pan maker’s treatment. All-Clad lists a baking-soda-and-water paste for some burnt areas on its bare stainless cookware. That example does not authorize abrasives on coated pans or appliances. Our guide to cleaning a burnt stainless steel pan keeps the escalation specific to cookware.
White spots and rainbow color
White spots are often mineral residue; rainbow color is commonly a thin heat-oxide film. Some cookware makers approve diluted vinegar for these conditions on bare stainless. Check the exact instructions, rinse completely, and wash again before food contact.
Do not mix vinegar and baking soda as a universal power cleaner. One is acidic and the other alkaline, so the reaction consumes both while producing bubbles. Use the treatment matched to the stain. Compare white spots on stainless steel pans with rainbow heat tint before choosing.
Restore a stainless steel appliance
Confirm whether it is coated
Look up the finish by model number. Fingerprint-resistant, black stainless, and stainless-look panels may use paint, film, or clear coating. Their manuals often prohibit acids and abrasives that a bare-metal guide recommends.
Whirlpool’s black-stainless care guidance calls for mild soap, warm water, and a soft microfiber cloth while warning against vinegar-based cleaners, ammonia, bleach, abrasive products, steel wool, and paper towels.
Remove fingerprints without creating a film
Use the manual’s solution on a clean cloth rather than spraying controls, seams, or vents directly. Wipe gently with the grain if one is visible. Remove soap as directed and dry with a fresh cloth.
Olive oil is not a cleaner. It can leave a film that attracts dust and transfers to hands or clothing. Use oil or commercial polish only when the appliance maker approves that exact product type and application.
Treat scratches as finish damage
Do not sand or scour a coated appliance. GE states that heavy scratches on its fingerprint-resistant finish do not have an approved cover-up repair. Ask the manufacturer whether a panel, trim piece, or service repair is available.
Restore a stainless steel sink
Wash with dish soap and a soft sponge, rinse fully, and dry with the grain. Remove wet mats, cans, cast-iron cookware, and carbon-steel tools that can trap moisture or transfer iron.
BLANCO’s stainless sink care guide warns against steel wool, metal scrubbers, chlorine products, hydrochloric acid, and strong abrasives. Sink-specific guidance matters because a directional finish can show cross-grain scratches even when the underlying metal is sound.
For mineral scale or rust-colored marks, use only the sink maker’s approved product and contact time. Elkay explains that introduced iron particles can create rust stains on stainless surfaces. That contamination may be removable, but repeated spots call for finding and removing the source.
Should you sand scratches out?
There is no universal sanding process. Do not sand cookware, coated appliances, mirror-polished trim, jewelry, or an unidentified sink finish.
Some sink manufacturers provide restoration kits for specific ground finishes. Those instructions specify compatible models, abrasive sequence, direction, and blending area. A random grit or circular motion can turn one scratch into a large dull patch.
If the manufacturer does not publish a refinishing procedure, leave the mark or hire a professional who can identify the finish. A cosmetic scratch that does not affect function is often safer than an improvised repair.
Symptom-by-symptom decisions
Fingerprints and greasy haze
Use mild soap and a clean microfiber cloth when permitted. If streaks remain, repeat with a clean cloth and less soap. Polish is unnecessary unless the manual calls for it.
White mineral film
Drying prevents recurrence. Use a maker-approved descaler or diluted acid only on a finish whose instructions permit it. Never carry a bare-cookware vinegar method over to a coated appliance.
Rainbow cookware discoloration
This is often cosmetic heat tint on bare stainless cookware. Let the pan cool, wash it, then follow the maker’s discoloration method. Reduce empty-pan overheating during future use.
Brown or black baked-on residue
Soak first. Escalate to the maker’s paste or cookware cleanser only when needed. Avoid oven cleaner unless explicitly approved for that cookware.
Orange spots
Remove possible carbon-steel contact and clean promptly with the sink or appliance maker’s approved method. If the spot is rough, deep, or returns from a seam, ask the manufacturer whether corrosion is occurring.
Peeling or bubbling finish
Stop polishing. Cleaning does not repair coating adhesion. Keep flakes away from food and contact the manufacturer about service or replacement.
Deep pits on food-contact metal
Stop using the item until its maker evaluates it. A pit can trap residue and represents missing material. Our overview of stainless steel cookware safety explains when condition matters more than cosmetic staining.
What not to use by default
Do not reach automatically for bleach, chlorine disinfectant, oven cleaner, drain cleaner, ammonia, steel wool, metal scrapers, toothpaste, powdered abrasive, or undiluted acid. A product can be appropriate in one controlled industrial process and still be wrong for a household finish.
Keep every cleaner in its original labeled container. Follow ventilation and protective-equipment directions. Rinse food-contact surfaces exactly as required. Store chemicals away from children and food.
Frequently asked questions
Can vinegar make all stainless steel shine?
No. Some bare cookware and sink manufacturers approve a diluted vinegar treatment for mineral deposits or discoloration. Some coated appliance manufacturers prohibit vinegar. The model-specific guide decides.
Can I combine vinegar and baking soda?
Do not treat the combination as a stronger universal cleaner. Use one approved treatment for the diagnosed mark, and never mix either ingredient with bleach or another cleaner.
Is stainless cleaner safe on a pan?
Only when the cleaner label and cookware maker both approve it for that food-contact finish. An appliance polish can leave ingredients that are not intended for cooking surfaces.
Will polish hide scratches?
It may temporarily change reflectivity, but it does not replace missing metal or coating. Repeated polishing can make a directional finish less uniform.
Why does the surface look worse after cleaning?
Soap or polish may remain, the cloth may have spread grease, an abrasive may have crossed the grain, or a prohibited chemical may have affected a coating. Stop, rinse only as the manual directs, and contact the maker before trying another product.
The bottom line
The safest restoration sequence is identify, wash mildly, dry, diagnose, and escalate once with an approved method. Universal recipes fail because “stainless steel” describes many alloys, constructions, and finishes. Restore removable soil, but treat scratches, pitting, and coating loss as damage rather than stubborn dirt.
For a closer diagnosis of color changes, read why stainless steel can tarnish or discolor.