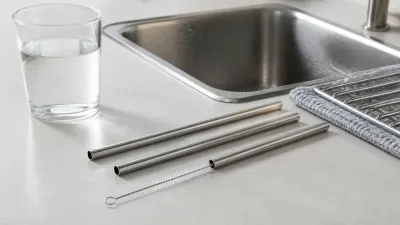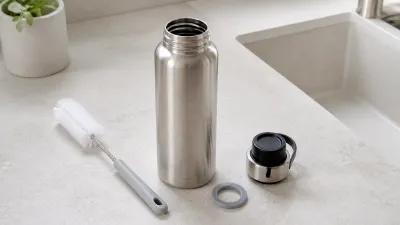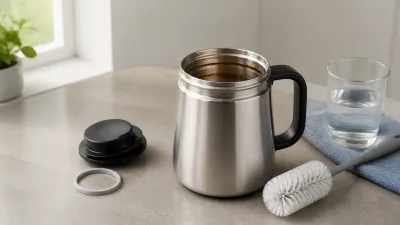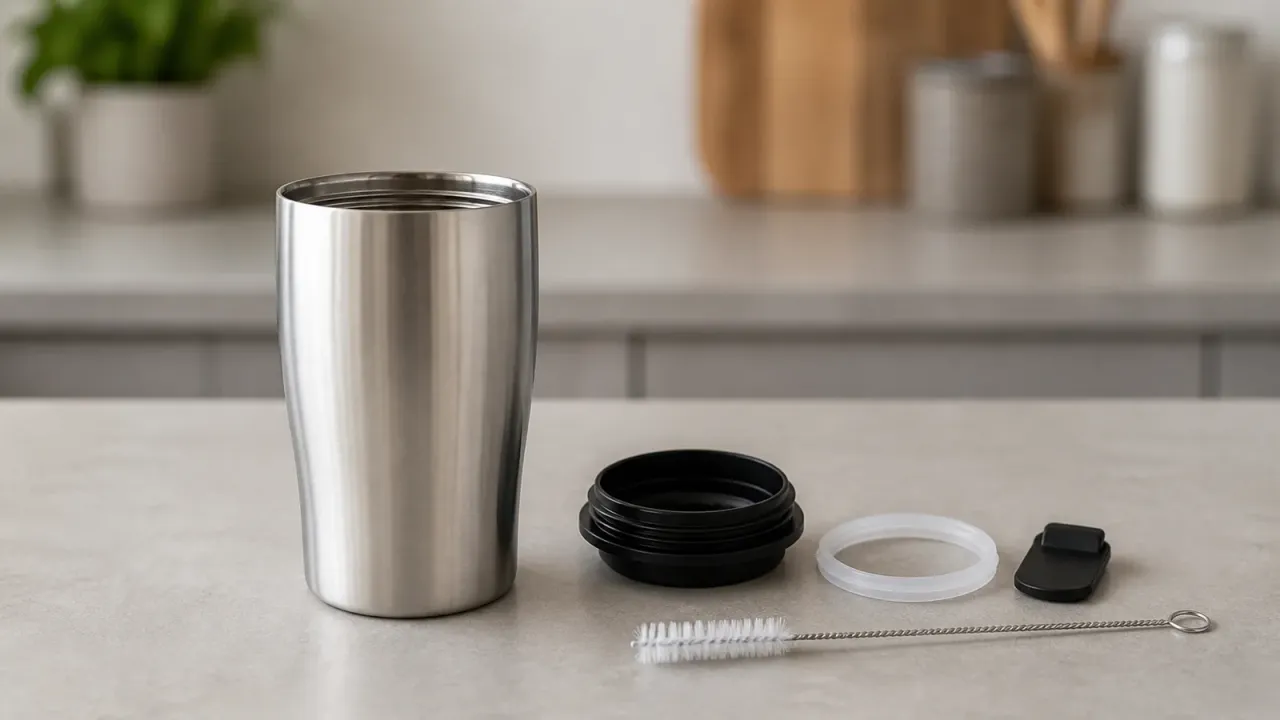
Clean a stainless steel travel mug after each use with warm water, mild dish soap, and a soft brush, then rinse every part and let it dry completely before reassembly. Check the exact maker’s instructions first because the steel body, vacuum wall, lid, slider, straw, gasket, coating, and dishwasher permissions may all have different limits.
This is a conservative routine for an intact mug used for coffee or other drinks. It is research-based household guidance, not a microbial test, sterilization claim, or universal cleaner recipe. For broader lid and seal considerations when choosing drinkware, see our stainless steel coffee and travel mug guide.
What should you check before cleaning a stainless steel travel mug?
Check the exact mug and lid model before you choose a dishwasher, soak, cleaner, heat step, or disassembly method. A stainless label describes one material, not every surface that can touch a drink or every part that can trap residue.
| Part | What to identify | Conservative starting point |
|---|---|---|
| Steel body and drink-contact wall | Bare stainless, ceramic or nonstick lining, painted finish, seams, pits, or scratches | Wash with warm water, mild dish soap, and a soft brush or sponge |
| Vacuum-insulated wall | Sealed double wall, exterior coating, dents, bulges, or a leak | Clean the accessible surfaces only; do not drill, pry, heat, or fill the wall |
| Lid and slider | Plastic, silicone, magnets, valve, hinge, threads, and removable pieces | Open and wash reachable areas; remove parts only when the maker shows how |
| Gasket or seal | Removable, fixed, replaceable, cracked, stretched, or sticky | Pull it only by the maker’s method; clean the groove and both sides when accessible |
| Straw or drinking channel | Removable tube, narrow bore, valve, or hidden passage | Use a soft narrow brush only when the part is designed to be cleaned that way |
| Unknown coating or component | Unidentified lining, finish, plastic, silicone, adhesive, or metal | Do not assume dishwasher, soaking, acid, bleach, or hot-water permission |
The U.S. Food and Drug Administration treats food-contact substances and finished food-contact articles as intended-use questions. Its review framework considers migration and the conditions in which a substance is used, so an alloy name or marketing phrase is not a complete compliance record for a finished travel mug. The FDA Food Code also uses cleanability principles for reusable food-contact surfaces: they should be accessible for cleaning and free of cracks, chips, pits, and other imperfections that can harbor residue. That model code applies to food establishments, not as a household certification, but it explains why hidden lid channels and damaged drink-contact surfaces matter.
If the care guide is missing, hand washing the accessible parts with warm soapy water is the cautious starting point. Do not force a gasket or valve out of an unknown lid. Ask the maker for the model instructions or a replacement-part diagram before using a stronger method.
What is the daily cleaning routine?
Use this sequence for an intact mug unless its maker gives a stricter or different routine:
- Empty the mug promptly. If it held coffee, milk, sugar, syrup, or another residue-forming drink, do not leave it closed in a bag or car.
- Let a hot mug cool enough to handle safely. Do not add cold water to a vessel when the exact maker warns against sudden temperature changes.
- Open the lid and inspect the underside, threads, slider, straw opening, valve, and gasket groove.
- Remove only the pieces the maker identifies as removable. Keep small parts together so a gasket or magnet does not go back in the wrong place.
- Wash the body and approved lid parts with warm water, mild dish soap, and a soft cloth, non-scratch sponge, bottle brush, or narrow brush that fits the passage.
- Rinse every surface until no foam, slickness, cleaner smell, or visible film remains. Run clean water through an approved straw or drinking channel.
- Set the body, lid, gasket, slider, straw, and other parts apart to air-dry fully. Reassemble only when no trapped droplets remain in the grooves or channels.
The Centers for Disease Control and Prevention defines cleaning as removing dirt, impurities, and germs with water, soap, and scrubbing. That ordinary method is the default here. Sanitizing or disinfecting is a separate decision with its own product labels and maker limits, not a reason to improvise a chemical treatment inside a mug.
How do you clean the steel body without damaging the vacuum wall?
Wash the accessible drink-contact wall and exterior with a soft tool, but treat the vacuum insulation as sealed construction rather than an open container. The body may look simple from the outside while its finish, seams, base, or inner lining have product-specific limits.
Rinse out the drink, then use warm soapy water and a brush that reaches the bottom and shoulder without scraping hard. Work around the mouth, threads, rolled rim, and the area where the lid meets the body. Wipe the outside with a soft cloth or sponge, especially if it has a powder coat, painted finish, or printed treatment.
Do not use a knife, metal scraper, steel wool, or wire brush as a default way to remove a stain. A scratch can make a surface harder to inspect and may damage a coating. Do not put a vacuum-insulated mug on a burner, in an oven, or in a microwave to loosen residue. A maker’s cleaning page is not a heat rating, and warming a sealed vessel can create burn or pressure risks.
If the body has a dent, bulge, leak, loose base, exposed layer, deep pit, or rough place that catches a brush, stop escalating the cleaning. A damaged vacuum wall or drink-contact surface needs a maker’s assessment, not more pressure or a stronger chemical.
How do you clean the lid, slider, straw, and gasket?
Clean the drinking path separately from the steel body, but disassemble only what the exact maker permits. Coffee oil and milk residue often remain under a gasket, around a slider, inside a straw, or in a valve even when the main wall looks clean.
Follow the model diagram, then use this part-by-part routine:
- Wash the lid underside, threads, mouthpiece, and reachable recesses with warm soapy water and a soft brush.
- Remove a slider, gasket, straw, or magnet only by the method the maker provides. If a seal is fixed, clean the exposed edge without prying it out.
- Use a soft narrow brush through a removable straw or open channel. Do not poke a pressure valve or closed passage with a sharp object.
- Rinse each part separately. Look for soap or cloudy water trapped behind a seal, under a slider, or inside the straw.
- Let the parts dry apart. Seat a gasket only when it is dry, untwisted, and aligned as the maker shows.
Current maker pages show why those details cannot be generalized. YETI’s Rambler instructions describe separate gasket, magnet, straw, and cap steps, and they tell owners not to remove a particular pressure-valve gasket. Hydro Flask’s closeable press-in lid guide explains how to pop out the slider, scrub the lid and slider, and dry both before reassembly. Owala’s care guidance tells owners to remove the spout gasket with its pull tab and clean it separately. Those are useful examples, not interchangeable instructions for an unidentified lid.
Can you use a dishwasher or soak a stainless steel travel mug?
Only when the exact maker approves the exact body and parts for that method. A steel body can have a different rating from its lid, slider, gasket, straw, coating, or vacuum construction, and a maker may specify a rack position or hand washing even when another brand allows a dishwasher.
| Method | What to verify first |
|---|---|
| Dishwasher | The exact mug, finish, lid, gasket, straw, magnets, and rack placement; follow any top-rack or utensil-tray directions |
| Soaking | Which parts may be immersed, the approved liquid, and whether a coating, wood, magnet, valve, or vacuum wall must stay out |
| Hot water or boiling | The exact part and temperature permission; never infer it from stainless steel alone |
| Vinegar, baking soda, tablets, or other cleaners | The named product, surface, dilution, contact time, ventilation, and rinse steps in the maker’s instructions and label |
For example, YETI’s current Rambler FAQ lists dishwasher placement for the body, lids, and gaskets, while also saying cleaning tablets are not for Rambler caps or lids. Owala says its stainless cups should be hand-washed to maintain the finish, even though its lids and straws have dishwasher directions. Klean Kanteen’s care page gives dishwasher and warm-soapy-water options for many products but excludes its stainless unibody bamboo cap from soaking and immersion. These differences are why “stainless steel is dishwasher safe” is too broad to be a cleaning plan.
When the model instructions are unclear, hand wash the accessible parts and leave the mug open to dry. Do not seal an unknown lid in a dishwasher, submerge a component whose construction you cannot identify, or copy a different brand’s soak time.
How do you remove coffee oils, odor, or stains?
Start with the normal soap-and-brush wash and clean the whole assembly, not only the visible steel. Coffee oils can leave a slick film, while residue in a gasket, slider, straw, or valve can create an odor after the body looks bright.
Use the appearance and feel of the mark only as a starting diagnosis:
- Brown, amber, greasy, or sticky film usually calls for another thorough wash and brushing of every approved drink-contact part.
- Pale, chalky buildup may be mineral scale, which is a different problem from coffee oil and needs a maker-approved method if one exists.
- Blue, gold, purple, or rainbow color can be heat tint or finish change rather than residue. Do not scrub harder without checking the maker’s care guidance.
- Orange roughness, pits, flakes, cracks, or exposed layers are damage warnings, not stains to polish away.
If the maker publishes a deep-clean method or named tablet, follow that method and its label exactly. YETI, for example, publishes a coffee and tea stain tablet process for its Rambler drinkware but limits tablet use on its caps and lids. That does not approve a tablet for another mug, coating, gasket, or straw.
Do not combine cleaners. CDC guidance says never to mix household bleach or disinfectants with other cleaners or disinfectants because dangerous vapors can result. Do not mix bleach with vinegar, ammonia, or a descaler, and do not pour a household disinfectant into a drink-contact vessel unless the exact product label and maker instructions cover that use. Rinse the mug completely before changing products, and use ventilation and protective equipment when a product label requires them.
If odor remains after an approved cleaning pass, inspect the lid, seal, slider, straw, and any inaccessible channel. Replace a maker-approved service part when available. Do not mask a persistent smell with fragrance or keep using a part that cannot be cleaned and dried.
How should you rinse, dry, and store the mug?
Rinsing and drying are part of cleaning. Leave the mug open and keep the body, lid, gasket, slider, straw, and other pieces separated until air can reach every drink-contact surface.
- Rinse the body and each approved part under clean water until no soap, film, or cleaner smell remains.
- Tip a lid, valve, or straw so water can drain from its channels. Do not assume a quick shake emptied a hidden groove.
- Set the parts on a clean rack or towel where air reaches both sides. A narrow straw may need a dedicated rack or a position that keeps both openings clear.
- Reassemble only when the gasket, slider, lid, and body are visibly dry. Check that the seal is flat, fully seated, and not twisted.
- Store the mug open or with the lid separated when the maker permits that arrangement. A closed, damp mug can retain odor even after a good wash.
Hydro Flask tells owners to dry the components completely before putting its press-in lid back together, YETI gives the same dry-before-reinstall direction for its gaskets and caps, and Klean Kanteen tells users to air-dry cap components. The exact storage position can differ, but complete drying is a sensible boundary across designs.
When should you stop using the mug or replace a part?
Stop using the affected part and contact the maker, replace the service part, or retire the mug when damage prevents a complete clean-and-dry cycle. More scrubbing cannot repair a failed gasket, damaged coating, pitted interior, or inaccessible residue path.
Look for these stop-use signs:
- a cracked, swollen, stretched, sticky, or persistently odorous gasket
- a slider, valve, straw, or lid that cannot be cleaned, dried, or seated correctly
- mold-like material or residue in a passage you cannot reach and clean
- a deep pit, rough cavity, flaking lining, peeling coating, sharp edge, or exposed unknown layer on a drink-contact surface
- a damaged vacuum wall, leak, bulge, loose base, or structural separation
- an odor that remains after the maker-approved cleaning routine and replacement-part check
Cosmetic scuffs or a removable coffee film are not automatically a reason to discard an intact mug. The concern is whether the drink-contact path remains intact, identifiable, reachable, cleanable, and dry. If the maker cannot identify the material, confirm the care method, or supply the failed part, do not keep using the mug simply because its exterior still looks like stainless steel.
Does cleaning prove that a travel mug is food-safe?
No. Cleaning can remove soil and residue from an appropriate, intact product, but it cannot certify an unknown material, a damaged coating, a failed seal, or a surface that cannot be reached and dried.
The FDA explains that food-contact substances are evaluated for their intended use and potential migration, while the finished article can contain several materials. A travel mug may have stainless steel, plastic, silicone, a magnet, an adhesive, a coating, or a valve in the drink path. Ask the maker what each drink-contact part is and how it should be cleaned. Do not treat “18/8,” “304,” “food-safe,” or “BPA-free” on one component as proof about the whole assembly.
The FDA Food Code’s cleanability guidance is also a useful reason to take pits, cracks, chips, dead-end channels, and difficult-to-remove gaskets seriously. It is not a household diagnosis or a guarantee that every smooth mug is compliant. It is a reminder that a drink-contact surface needs a practical cleaning path, not just a reassuring material label.
For the separate sensory question, see our guide to whether stainless steel affects coffee taste. Residue, the lid, a coating, temperature, and rim contact can change the drinking experience without proving that the steel itself is unsafe.
Frequently asked questions
Can I put my stainless steel travel mug in the dishwasher?
Only when the exact maker approves that exact mug and every part you plan to wash. Confirm the body, coating, lid, slider, straw, gasket, magnets, rack position, and any hand-wash exception. Hand washing is the cautious default when the model instructions are missing.
How do I clean the gasket under a travel-mug lid?
Remove it only if the maker gives a removal method. Wash the gasket and its groove separately with warm water, mild dish soap, and a soft brush, rinse thoroughly, let both dry, and reinstall it flat and in the orientation shown by the maker. Leave a fixed gasket in place rather than prying it out.
Can I soak a stainless steel travel mug in vinegar?
Not as a universal rule. Some makers allow vinegar for particular bodies or parts, while a coating, bamboo component, magnet, valve, or unknown lid may have different limits. Use vinegar only when the exact maker and product label give a compatible method, and never mix it with bleach or another cleaner.
Why does my travel mug still smell after washing?
The odor may be in the lid, gasket groove, slider, straw, valve, coating, or another narrow channel rather than on the visible steel. Repeat the maker-approved disassembly and soft-brush wash, dry every part separately, and replace or retire an inaccessible or persistently odorous component.
Should I keep using a mug with mold-like residue in the lid?
Stop using it until you can follow the exact maker’s cleaning and replacement instructions. If the material is in a passage you cannot open, clean, rinse, and dry, or if the seal is damaged, ask the maker for a replacement or retire the affected lid rather than relying on a stronger improvised cleaner.
Which sources support this routine?
This article was checked against current manufacturer care pages, FDA food-contact and cleanability guidance, and CDC cleaning-safety guidance on August 22, 2026. It is a research-based household guide, not a hands-on product test, microbial count, medical opinion, or promise of sterilization. The exact maker’s instructions control whenever they differ from this general routine.
- YETI Rambler cleaning instructions, body, lid, gasket, slider, straw, tablet, and drying guidance, accessed August 22, 2026.
- YETI Rambler FAQ, dishwasher placement and cleaner limits, accessed August 22, 2026.
- Hydro Flask Closeable Press-In Lid cleaning guide, slider disassembly and complete-drying guidance, accessed August 22, 2026.
- Owala FAQ and product care, stainless cup, lid, straw, gasket, and dishwasher guidance, accessed August 22, 2026.
- Klean Kanteen Care and Use, cap, gasket, dishwasher, soaking, and air-drying variation, accessed August 22, 2026.
- FDA Food Code 2022, reusable food-contact cleanability and accessible-surface principles, accessed August 22, 2026.
- FDA Food Packaging and Other Substances that Come in Contact with Food, intended-use and migration context, accessed August 22, 2026.
- CDC Cleaning and Disinfecting with Bleach, soap-and-water cleaning and no-mixing guidance, accessed August 22, 2026.
For a different stainless cleaning problem, our guide to how stainless steel soap works explains why a metal object is not a substitute for detergent. Our guide to cleaning stainless steel pans covers cookware surfaces separately from travel-mug lids and vacuum insulation.