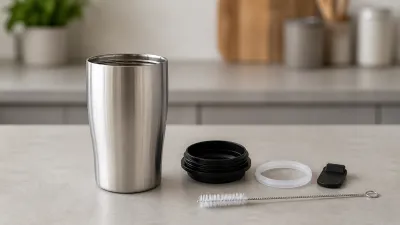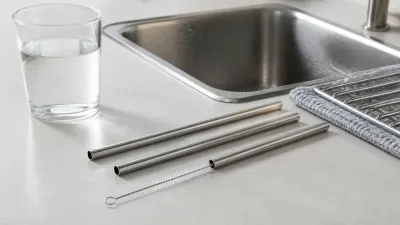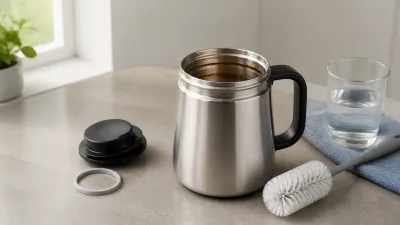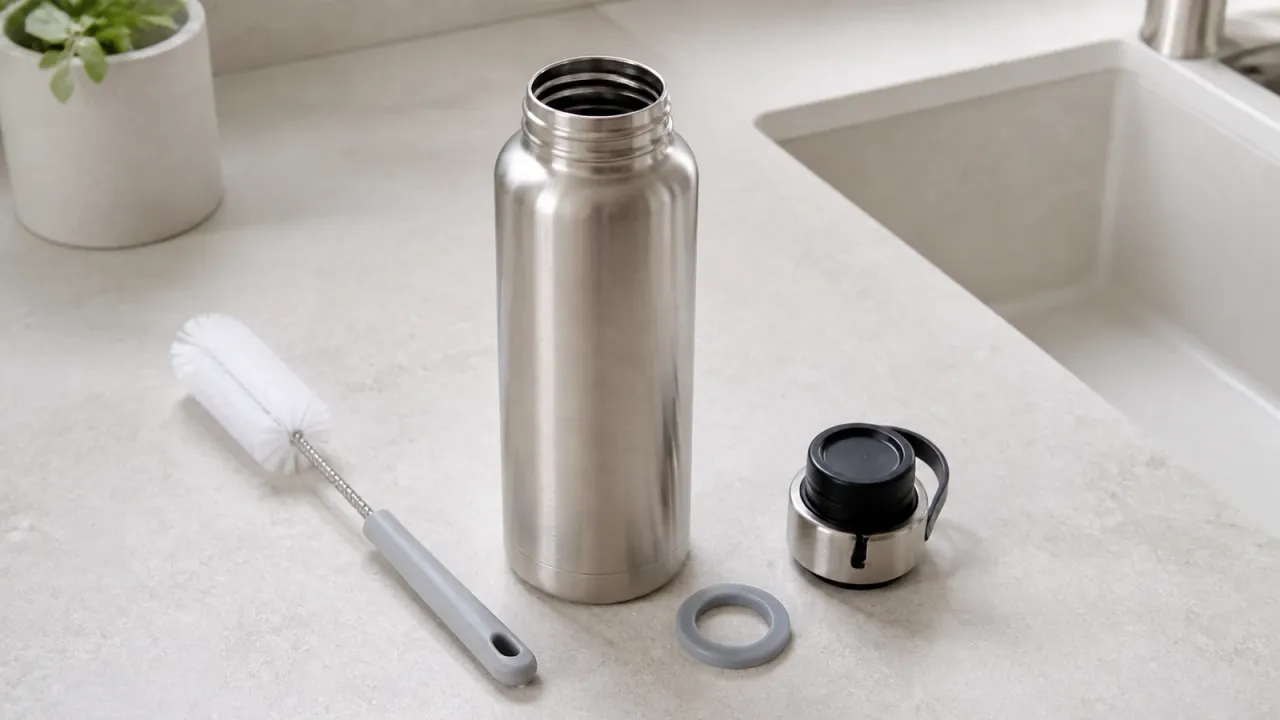
To clean a stainless steel water bottle, check the maker’s instructions first, then wash the body and neck with warm water, mild dish soap, and a soft bottle brush. Clean every approved cap, straw, valve, and gasket part separately, rinse until no soap remains, and let everything dry fully before you reassemble or store it.
That is the conservative routine in this guide. It draws on current care pages from Hydro Flask, Owala, YETI, and Klean Kanteen, plus CDC cleaning guidance. It is research-based household advice, not a microbial test or a promise that one recipe fits every bottle.
What should you check before cleaning?
Check the exact bottle and lid model’s care guide before choosing a dishwasher, soak, cleaner, temperature, or disassembly step. A stainless body does not tell you how to treat a powder coat, painted finish, plastic cap, silicone seal, straw valve, or vacuum-insulated wall.
Look for these details:
- The bottle body may be bare steel, colored or powder-coated steel, or a finish with its own restrictions.
- The cap may include plastic, silicone, a straw, magnets, a pressure valve, or a hidden channel that is not meant to come apart.
- A gasket or seal may be removable, replaceable, or permanently seated. Do not pry it out just because another brand’s gasket comes out.
- Dishwasher permission can differ between a new bottle, an older model, a trail version, a lid, and a gasket. Hydro Flask lists those differences on its dishwasher guide, while Owala says its stainless bottle lids are top-rack safe and its cups should be hand-washed to protect the finish.
- Vacuum insulation is part of the construction. Cleaning the bottle does not mean heating it, microwaving it, putting it in an oven, or exposing it to a temperature that the maker does not allow.
If you cannot find the exact instructions, hand washing with warm water, mild dish soap, and a soft brush is the cautious starting point. Do not guess at a dishwasher cycle or force a hidden seal. Contact the maker when the model or replacement parts are unclear. If you are choosing a bottle, compare the stainless steel water bottle picks by lid and care demands, especially whether you want a straw assembly to clean or a simpler drinking cap; for the broader food-contact question, see safe stainless steel food storage.
What supplies do you need?
The short list is a mild dish soap, warm water, a soft bottle brush, a narrow straw or crevice brush when the maker permits one, and a clean drying rack or towel. Keep the maker’s manual or care page open while you work.
Use a brush that reaches the shoulder, threads, and bottom without gouging the surface. A soft cloth or non-abrasive sponge can clean the outside. Do not start with steel wool, a wire brush, chlorine bleach, or an abrasive powder just because the bottle is stainless steel.
How do you wash the bottle body and neck?
Wash the bottle body and neck as one connected cleaning job. The mouth opening, threads, shoulder, and underside of the lip can hold more residue than the smooth side wall.
- Empty the bottle and rinse out the drink. If the bottle held a sweet, electrolyte, coffee, tea, or milk-containing drink, do not leave the closed bottle sitting while you decide how to clean it.
- Add warm water and a small amount of mild dish soap. Use the bottle brush on the full interior, including the bottom, shoulder, neck, and threads. Work around the lip where your mouth or the cap makes contact.
- Wash the outside with the same mild soapy water and a soft cloth or sponge. Pay attention to the seam between the body and the neck, but do not scrub a coating with a rough pad.
- Rinse the body, neck, and mouth opening with clean water until foam, slickness, and soap smell are gone. Rinsing is part of cleaning, not an optional final splash.
- Hold the bottle under good light. Look for a cloudy film, sticky residue, rough pits, a crack, a damaged seam, or a finish that is lifting. Stop before using a stronger product if the surface is not bare, smooth, and intact.
The CDC’s cleaning guidance describes cleaning as water, soap, and scrubbing. That is the level of advice here. Disinfection is a separate job with its own product labels and maker limits, not a reason to improvise a chemical treatment inside a drink bottle.
How do you clean the cap, gasket, straw, or valve?
Clean the cap and its drinking path separately from the bottle body, but remove only the parts the exact maker says are removable. The lid often has the narrow passages and damp crevices that a quick bottle rinse never reaches.
- Open the cap and inspect the underside, threads, spout, straw, valve, and gasket groove. Follow the model diagram before pulling on anything.
- Remove the straw, gasket, or other pieces only when the care guide permits it. Klean Kanteen identifies a removable sealing gasket but says a vent gasket is not meant to be removed on one of its sport caps. YETI gives different removal and reassembly steps for different Rambler caps. Those examples are model-specific, not a universal lid recipe.
- Wash the lid, underside, threads, and approved removable parts with warm water, mild dish soap, and a soft brush. Run a narrow brush through a straw only when that straw is designed to be cleaned that way. Do not poke at a pressure valve or permanently seated seal.
- Rinse every part separately. Run clean water through the drinking channel until you cannot see foam or feel soap on the surface. Keep small pieces together so a gasket is not lost or reinstalled in the wrong direction.
- Dry the gasket, cap, straw, valve, and bottle separately. Reinstall them only when they are fully dry and the gasket sits exactly as the maker shows. A twisted or loose seal can leak and can leave a wet pocket behind it.
Some makers allow a top-rack dishwasher for a particular lid or body, while others exclude a finish or model. Hydro Flask, Owala, YETI, and Klean Kanteen all publish useful care instructions, but their permissions and part diagrams are not interchangeable. If a dishwasher is approved, follow the exact rack, temperature, and part-placement directions for that model.
How often should you clean a stainless steel water bottle?
Clean more often when the drink leaves sugar, minerals, protein, oil, or flavor behind. The table below is a conservative editorial synthesis of the manufacturer schedules, not a universal rule from one brand. If your maker gives a stricter schedule, use it.
| What was in the bottle | Practical cleaning frequency | What to clean |
|---|---|---|
| Plain water only | Empty and rinse after each use. For a bottle used daily, wash the complete assembly at least once a day. | Body, neck, cap, gasket, straw, and valve that the maker identifies as cleanable |
| Sweet or electrolyte drinks, coffee, or tea | Wash after every use rather than relying on a rinse. | Every drink-contact part, including the lid channels and gasket groove |
| Milk-containing or other perishable drinks | Wash promptly after every use and leave the bottle open while it is being cleaned and dried. Follow the drink and bottle maker’s storage limits. | Body, neck, cap, seal, straw, and any part exposed to the drink |
| Visible residue, sticky film, or odor | Clean it the same day. Repeat the approved disassembly and brushing once if needed. | The body plus every approved removable or reachable lid part |
Owala’s FAQ gives a daily washing answer, Klean Kanteen says one sport cap should be cleaned at least weekly and daily when used for something other than water, and YETI gives an after-use routine for one straw cap with a deeper weekly routine. Those different schedules are why the table states a cautious synthesis instead of pretending that every bottle has the same care requirement.
What should you do about odor, residue, or staining?
Treat a lingering odor or film as a reason to clean the whole drinking path, not as a bottle-body problem. The cap, gasket groove, straw, and valve can retain residue even when the stainless interior looks bright.
Start with the normal soap-and-brush wash. Then, if the maker allows the parts to come apart, clean the gasket groove, underside of the lid, straw interior, and accessible valve area separately. Rinse thoroughly and dry every part before testing the bottle again.
Do not mix cleaners. Do not combine vinegar and baking soda and present the fizz as a cleaning step. Do not copy a brand’s tablet, acid, peroxide, boiling, or soaking instruction onto a different bottle. If the exact maker permits a specialty product or a soak, use that product’s label and the maker’s instructions, then rinse as directed.
If odor or residue remains after an approved cleaning pass, inspect the gasket and cap for damage and look for a hidden area you cannot reach. Replace a removable gasket or cap when the maker offers the correct part. If the odor or mold-like material is inside an inaccessible passage, or you cannot make every drink-contact part clean and dry, contact the maker or retire the assembly.
Our guide to how stainless steel soap works explains why a steel object is not a substitute for detergent. A stainless bottle still needs soap, water, and scrubbing to remove drink residue.
How should you dry and store the bottle?
Dry the bottle body and every cap part separately before closing or storing it. A clean bottle that is sealed while damp can retain water in the neck, gasket groove, straw, or valve.
- Leave the bottle open and inverted on a clean rack so air can reach the interior.
- Keep the cap open and set the gasket, straw, and valve parts where they can drain and dry.
- Do not put a cap back on to speed up drying. Wait until you cannot see trapped droplets in the drinking path.
- Store the bottle uncapped or with the cap loosely separated when the maker allows it.
- Before the next fill, check the mouth, threads, and seal for lint, residue, or a gasket that has shifted.
YETI and Klean Kanteen both tell users to let cleaned cap components air-dry or dry thoroughly before reassembly. That is a maker instruction worth carrying across models as a conservative storage habit, while the exact cap position and dishwasher method remain model-specific.
What should you not do?
Do not treat the stainless label as a universal cleaning permission. Avoid these shortcuts:
- Do not assume the body, lid, straw, and gasket share the same dishwasher rating.
- Do not use chlorine bleach, abrasive cleaners, steel wool, or a wire brush as a default recipe. YETI and Hydro Flask specifically warn against bleach or chlorine cleaners, while other finishes may have additional restrictions.
- Do not mix cleaners or pour a household cleaning solution into a bottle that will later hold a drink.
- Do not force a gasket, magnet, straw, or pressure valve out of a cap. Follow the maker’s diagram or leave that part in place.
- Do not scrape residue with a knife or metal tool. A scratch, burr, or transferred metal mark creates a new surface-care problem.
- Do not close or store the bottle while any part is wet.
- Do not heat, microwave, or oven-clean a vacuum-insulated bottle unless its maker explicitly approves the exact operation. A cleaning page is not a heat rating.
If you are unsure whether the issue is a deposit or corrosion, read whether stainless steel is waterproof for the broader distinction between water resistance, deposits, crevices, coatings, and damage.
When is replacement safer than more cleaning?
Replace the worn part or stop using the bottle when damage means you cannot keep the drink-contact path clean, dry, and intact. More scrubbing is not a repair for failed insulation, a cracked body, or a seal that no longer fits.
Contact the maker or retire the bottle when you see any of the following:
- damaged vacuum insulation, a new bulge, a failed seam, a leak from the body, or another structural change
- a crack, sharp edge, deep pit, corrosion that returns, or roughness inside the drink-contact surface
- peeling paint, powder coat, or other coating that can flake into the drinking area
- a gasket or valve that is cracked, loose, stretched, sticky, or impossible to seat correctly
- persistent odor or mold-like material in an inaccessible part after the maker-approved cleaning routine
- a lid, straw, or seal that cannot be cleaned and dried safely, or whose replacement part cannot be identified
Cosmetic scuffs are not automatically a reason to discard an intact bottle, but a food-contact surface that is pitted, peeling, cracked, or unknown deserves a maker’s answer. If the maker cannot confirm a safe care path or supply the part that failed, replacement is the safer decision.
Frequently asked questions
Can I put my stainless steel water bottle in the dishwasher?
Only if the exact maker says that exact body, finish, cap, straw, and gasket can go in the dishwasher. Hydro Flask lists model exceptions, Owala separates lid and cup directions, and YETI gives rack and part-placement instructions for its Rambler line. Hand washing is the cautious default when the model instructions are missing.
Can I use bleach or vinegar to clean a stainless steel water bottle?
Not as a universal recipe. Some manufacturers publish a vinegar, tablet, or other deep-clean method for specific products, while YETI and Hydro Flask warn against bleach or chlorine cleaners. Never mix cleaners, and do not invent a concentration or contact time for an unknown bottle.
How do I clean a water bottle that still smells?
Wash the body and neck with warm soapy water, then clean every cap, gasket, straw, valve, and groove that the maker says you may reach. Rinse and dry the parts separately. If the smell persists in an inaccessible passage, replace the part or contact the maker rather than sealing it up and continuing to drink from it.
Should I clean the gasket every time?
Clean it as often as the exact maker directs, and more often when the bottle holds anything other than plain water or develops residue or odor. Do not remove a gasket that the maker says is fixed in place. If it is removable, wash and dry it separately so the groove and both sides are not left damp.
Sources and method
This article was checked against current manufacturer care guidance and CDC household cleaning guidance on August 20, 2026. It is a conservative editorial synthesis for ordinary household cleaning, not a laboratory test, microbial count, disinfection protocol, or hands-on product test. The maker’s exact instructions control whenever they differ from this general routine.