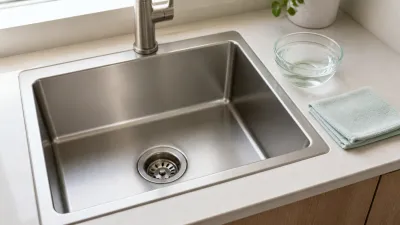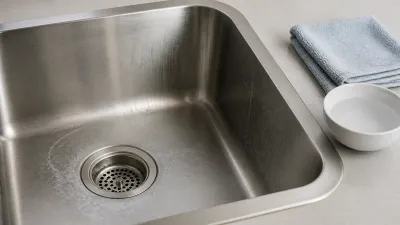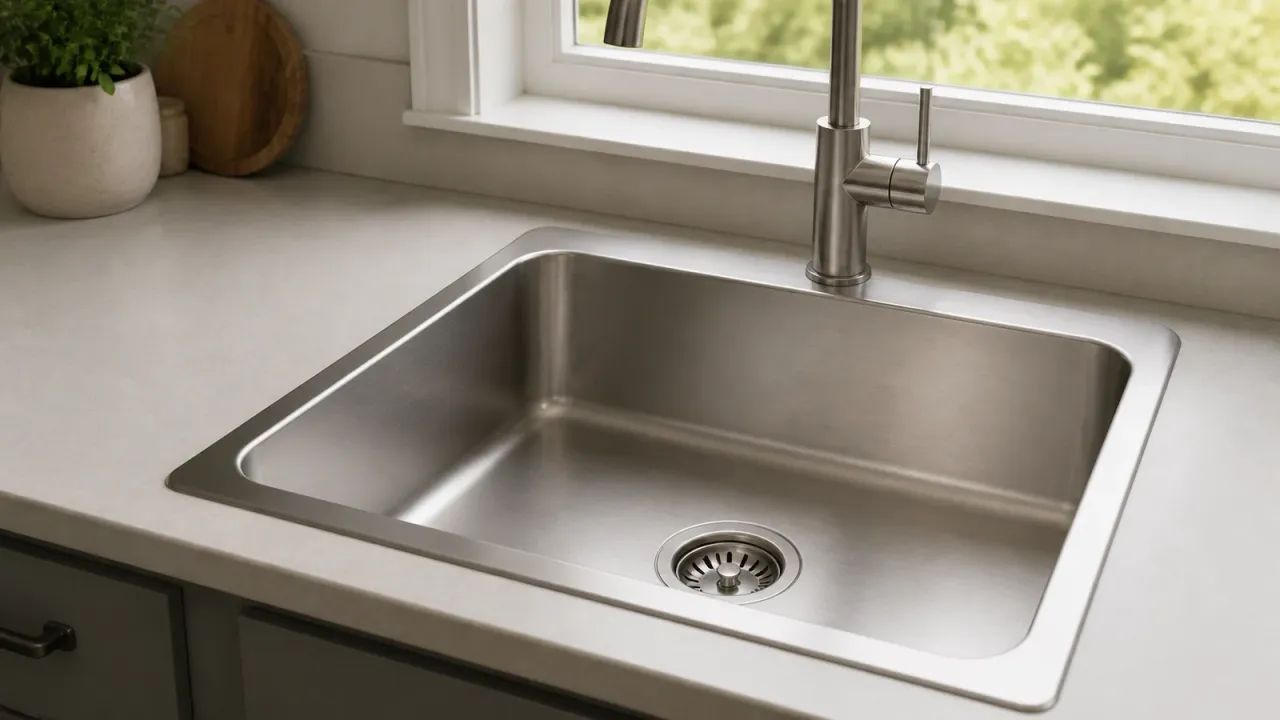
Light scratches in a bare, brushed stainless steel sink can usually be blended, not erased, by cleaning first and making careful, straight passes with the least-aggressive method the sink maker approves. Identify the finish before touching it with an abrasive. A mirror-polished, coated, colored, fingerprint-resistant, or unknown sink needs its own care instructions.
This is cosmetic blending. It does not rebuild missing metal or make a deep gouge disappear. Abrasives permanently change the finish, so stop if the mark catches, has a sharp edge, or leaves you unsure about the sink’s surface.
Can you remove scratches from any stainless steel sink?
No. A generic scratch-removal method is suitable only when the sink is an uncoated, directional finish and the maker allows that kind of cleaner or pad. BLANCO’s current sink-care instructions say to clean with the brushed finish, rinse, and dry in that same direction. That does not authorize an abrasive on every stainless-looking sink.
Use this boundary before you gather a pad:
| Finish or condition | Conservative decision |
|---|---|
| Brushed or directional satin stainless | Continue only with the exact sink maker’s approved cleaner, compound, or non-woven pad. |
| Mirror or highly polished stainless | Do not abrade it. Follow the maker’s polish and cloth instructions because a matte patch can be harder to hide than the original line. |
| Satin with no visible grain | Treat it as finish-specific rather than assuming it is brushed. Ask the maker what is safe. |
| Colored, dark, PVD, fingerprint-resistant, or otherwise treated | Do not blend it with a generic stainless abrasive. BLANCO’s Dark Steel guidance specifically says to avoid abrasive items and polishing agents. |
| Unknown finish or unknown sink model | Stop at gentle cleaning and identify the model before polishing. |
Moen also notes that a stainless cleaner used along grain lines is not for mirror finishes in its stainless steel sink care guide. Finish is not a cosmetic detail here. It determines whether the same motion will soften a mark or create a new dull area.
How can you identify the sink’s finish?
Clean and dry the sink, then inspect it from an angle before deciding whether it has a grain. This quick check separates a brushed surface from a shiny finish or a mark that is only residue.
- Remove the bottom grid, rack, drain cover, and anything else touching the basin.
- Wash with warm water, a little dish soap, and a soft cloth or the soft side of a sponge. Do not use the abrasive side.
- Rinse away the soap and dry with a clean microfiber cloth. BLANCO and Franke both put rinsing and drying after cleaning because residue and water deposits can change how the surface looks.
- Shine a light across the dry metal. Fine, parallel lines that continue across the panel indicate a directional brushed or satin finish. A smooth reflection with no lines may be polished, or it may simply be too dirty to read.
- Find the sink’s model number, care card, or installation paperwork. The exact maker’s instructions control when they differ from general stainless-steel advice.
If a dark line wipes away, it was not a scratch. If the line remains but changes with the light, it may be a shallow surface mark. Do not assume either result permits a stronger cleaner.
How deep is the scratch?
Use angled light and a very light touch to decide whether the mark is a surface line or a physical defect. This is a conservative stop test, not a promise that a fingernail can measure scratch depth precisely.
- A fine line that changes the reflection but does not catch a fingernail is more likely to be a cosmetic finish mark.
- A groove that catches a fingernail or a wooden toothpick deserves manufacturer or professional advice before any abrasion.
- A raised burr, sharp edge, pit, crack, dent, distortion, thinning, or visible layer beneath the stainless steel is not a normal scratch to blend.
- Peeling color, a damaged fingerprint-resistant treatment, or a patch with a different sheen is coating or finish damage, even if the steel underneath looks intact.
Photograph a concerning mark while the sink is clean and dry, including the whole basin and the model label if you have it. If the sink is used for food preparation and the mark leaves pitting, flakes, an unknown exposed layer, or chemical residue, stop using that area for food contact until the maker advises you.
What should you do before blending a light scratch?
Start with the least aggressive complete method, and do not buy a random grit or pad because a recipe on another sink says it worked. You need the sink maker’s care instructions, a clean soft cloth, the approved cleaner or compound, and only the pad or applicator that those instructions allow.
Before the first pass:
- Work on a cool, empty, dry sink with the drain protected from loose residue.
- Spot-test the product and applicator in a hidden or inconspicuous area of the same finish. Let it dry, rinse, and inspect it in angled light.
- Read the product label for ventilation, gloves, contact time, and rinsing. Never mix cleaners, and do not leave bleach, chloride, acid, or another unapproved chemical sitting in the basin.
- Keep ordinary steel wool, carbon-steel scrubbers, wire brushes, sandpaper, and power tools away from the sink. Manufacturers warn that metal particles can create later rust staining, while aggressive tools can alter more metal than the scratch itself.
If the spot test changes the sheen, leaves a halo, or makes the line more visible, rinse it off and stop. The least-aggressive successful method is the right endpoint, even when the scratch is still faintly visible.
How do you blend a light scratch in brushed stainless steel?
Blend the mark by matching the existing grain and feathering the work across the same visual section, not by polishing a tiny isolated dot. The goal is to reduce contrast between the scratch and the surrounding finish.
- Confirm that the maker’s instructions permit the cleaner, compound, or non-woven pad you selected. Use it exactly as labeled. If the instructions name no abrasive, stay with a soft cloth and approved cleaner.
- Locate the grain on a clean area next to the scratch. On a sink wall, the lines may run up and down; on a basin floor, they may run lengthwise. Follow what you see, not the orientation that would feel easiest.
- Make light, straight passes parallel to those lines. Keep the applicator flat, avoid circles, and never cut across the grain. Inspect after a few passes instead of working by a fixed time or an invented number of strokes.
- Feather beyond the original line with the same direction and light pressure. BLANCO’s care instruction for minor scratches warns against rubbing only one area and calls for working across the surface for a uniform appearance. A spot polish can therefore turn a small scratch into a larger visible patch.
- Stop as soon as the line blends into the surrounding grain. Do not keep abrading to chase a perfect, factory-new finish. The surrounding area may become flatter, brighter, or duller before the original scratch fully disappears.
- Rinse thoroughly, wipe dry along the grain, and inspect from several angles. Franke says fine scratches may be polished with its stainless cleaner, while its care guidance also says to use the mildest effective procedure and avoid rough sponge sides. That is why the exact maker’s method matters more than a universal pad grade.
The result should be a less noticeable mark and a consistent-looking section of grain. It should not be described as true removal when the steel has been retextured around the line.
When should you stop and call the sink maker?
Stop immediately when the damage is deeper than a finish mark, the finish is not confirmed, or the repair is spreading the visible change. More abrasion is not a safer answer.
Ask the sink maker or a qualified refinisher for an assessment when:
- the scratch catches noticeably, has a burr, or sits beside a crack, pit, dent, or warped area;
- the line exposes another layer, a coating, or a color that is lifting;
- the spot test creates a halo or a cross-grain line;
- one gentle, maker-approved pass does not improve a shallow mark;
- the care instructions prohibit the product or applicator you have;
- the sink’s model, finish, or prior repair is unknown; or
- the basin is used for food preparation and the surface condition leaves food-contact safety uncertain;
- the sink moves, has a failed seal, loose mounting, or another installation problem that polishing cannot correct.
Do not sand, grind, or use a power tool to make a deep gouge look even. A professional inspection can distinguish a cosmetic refinish from a damaged or thinning sink and can tell you whether replacement is more sensible.
What should you avoid when polishing a sink scratch?
Avoid anything that can contaminate the steel, cross-cut its grain, or change more finish than the mark requires.
- Do not use ordinary steel wool, carbon-steel wool, wire brushes, or metallic scouring pads. Kohler’s stainless-steel care guidance and Franke’s sink-care guidance both warn against rough or metallic tools.
- Do not make circles or scrub across the grain. Franke says cross-grain scrubbing shows as a scratch, while grain-parallel work can blend a surface mark.
- Do not copy a grit number, pad color, pumice recipe, or compound from another sink unless your exact maker specifies it. Products that look similar can have different brushed, satin, polished, or treated finishes.
- Do not use sandpaper, a drill, an angle grinder, or a polishing wheel on a kitchen sink. Franke’s technical care guidance warns that sandpaper and grinding or polishing powders can damage stainless steel. These tools also make finish loss and an oversized repair patch more likely.
- Do not leave bleach, chlorides, acids, or an unapproved cleaner in the basin. Rinse any accidental contact promptly and follow the maker’s instructions.
For a broader finish-aware restoration overview, read how to make stainless steel look new again. It covers the difference between cleaning a mark and changing bare stainless steel, while this guide stays with conservative sink-scratch blending.
How should you finish the repair and prevent new marks?
Finish by rinsing away every trace of cleaner or compound, drying with the grain, and returning only clean, dry accessories to the sink. Franke’s current sink-care page notes that fine scratches are a normal consequence of sink use and can become less noticeable as the surface develops an even patina.
Use the sink maker’s cleaning schedule afterward. A bottom grid or rack can keep dishes from dragging on the basin, but it also needs to be lifted and cleaned so grit does not sit beneath it. Remove wet cloths, pads, and rubber mats instead of leaving them against the steel.
If you are really looking for a cleaner rather than a scratch treatment, compare the sink-safe cautions in the stainless steel cleaner guide. For a pan, use the stainless steel pan cleaning guide instead of carrying a sink finish recipe into a food-contact cooking surface. The separate scratched stainless steel pan safety guide covers deep gouges, pitting, exposed layers, and cookware-specific food-safety questions.
Can stainless steel sink scratches be removed completely?
Usually not. Light scratches can sometimes be blended into a brushed grain, but the surrounding surface has also been changed. A deep gouge cannot be erased by a safe household polishing pass.
What direction should you polish a brushed stainless steel sink?
Move parallel to the visible grain, using straight passes that follow the existing lines. Never use circles or cross-grain strokes. The grain direction can change between the basin floor and the walls, so check each section separately.
Can I use a green scouring pad on a sink scratch?
Do not assume a pad color is safe. Use a pad only when the exact sink maker approves that applicator for that finish, and test it in an inconspicuous area first. A pad that works on one satin sink can dull a mirror or treated finish.
What should I do if the scratch is deep?
Stop polishing, photograph the clean dry damage, and contact the sink maker or a qualified refinisher. A groove, burr, pit, crack, distortion, thinning, exposed layer, or damaged coating needs assessment rather than more abrasion.