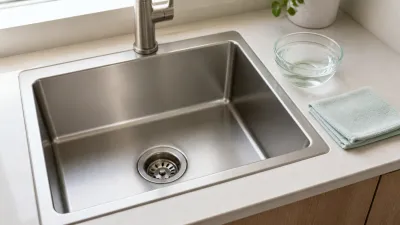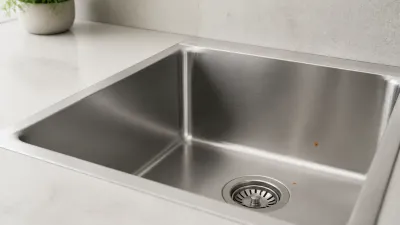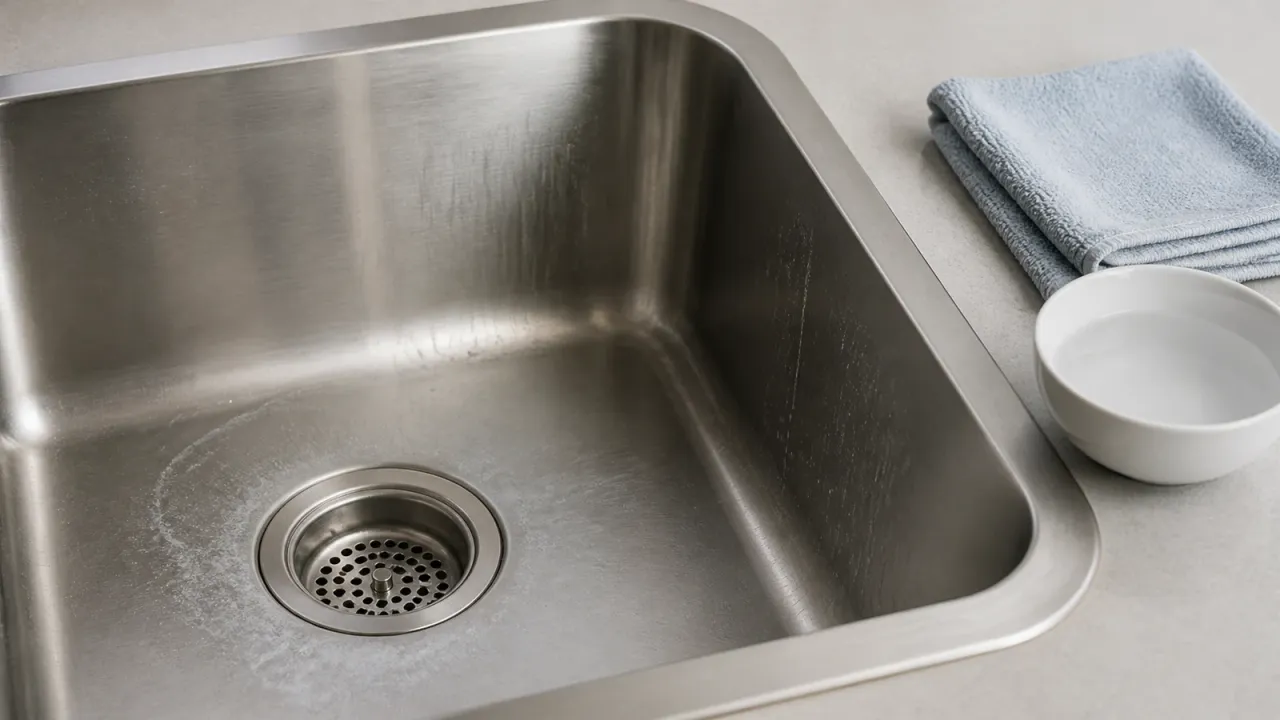
To remove hard water stains from a stainless steel sink, wash the cool sink with mild soap and water first, then use an acid only when the exact sink maker permits it. Rinse away every cleaner, dry the surface with a soft cloth, and stop if the mark is rough, pitted, etched, or returning.
This guide covers removable mineral deposits on a stainless steel sink. It does not diagnose corrosion from a photograph, give a universal vinegar recipe, clean cookware, or recommend a cleaner for an unidentified finish. If your sink has a coating, colored finish, or unknown maker, treat acid and abrasive permissions as unknown until you find its care guide.
| What you see | More consistent with | First move |
|---|---|---|
| White or gray chalky ring, haze, or splash marks that feel smooth or slightly raised | Mineral film left as hard water evaporates | Mild wash, rinse, dry, then check the sink maker’s deposit guidance |
| Orange or brown mark near a faucet, drain, rack, or metal object | Transferred iron, high-iron water, or a separate rusty part | Remove the source and do not assume the basin is corroding |
| Rough dot, cavity, groove, flaking, or sharp edge | Pitting, etching, or physical damage | Stop polishing and ask the maker or a qualified professional |
| Sticky or greasy film | Soap, food, or oil residue | Use the maker-approved routine wash, not an acid by default |
What do hard-water stains look like on stainless steel?
Hard-water stains on stainless steel usually look like pale, chalky film, rings, dots, or vertical splash marks left when mineral-rich water dries. The U.S. Geological Survey explains that hard water contains dissolved minerals, mainly calcium and magnesium, and that heating or evaporation can leave calcium-carbonate scale.
The deposit sits on the surface, so it may change after a suitable wash or maker-approved descaling step. A hard-water film is usually a cleaning and appearance problem, not proof that the sink metal has corroded. USGS describes hard water as a nuisance that can cause mineral buildup in fixtures and pipes, but local water chemistry varies, so do not infer your home’s hardness from a photograph.
Water quality can create other colors. Moen’s stainless steel sink care guide notes that hard water or high-iron water can leave a brown stain that looks like rust, while high mineral concentration can leave a white film. That is why color alone does not establish whether a mark is scale, transferred iron, or corrosion.
The surface and location are useful clues, not a diagnosis. A smooth white ring around a drain is more compatible with a deposit than a cavity that catches a fingernail. A line beneath a rack, mat, or strainer may involve trapped water or particles. If the finish, depth, or material is unclear, use the mild method and escalate rather than trying to prove the cause with a stronger chemical.
How do you remove hard-water stains from a stainless steel sink?
Remove the stain in stages: identify the sink, start with a mild wash, rinse and dry, then consider only the next treatment named by the maker.
- Find the exact care guide. Record the sink maker, model, finish, and installation information. A bare brushed basin, a mirror finish, a PVD-colored sink, a composite accessory, and a plated drain part may have different care limits. If you cannot identify the finish, do not assume that a stainless-sink recipe applies.
- Clear the basin and let it cool. Remove dishes and standing water. Set aside only racks, mats, or strainers that the maker treats as removable. Do not loosen the drain, mounting clips, plumbing, or seal to investigate a mark.
- Wash the cool surface mildly. Use the routine cleaner and soft cloth or sponge named by the sink maker. Work with the visible grain when the guide directs you to do so. Do not use steel wool, a wire brush, a knife, or a rough scouring pad to make the deposit disappear faster.
- Rinse and dry before judging the result. Flush the surface with clean water, remove cleaner from the drain area and seams, and dry with a soft towel. A wet film can hide whether the chalky mark remains. Inspect the dry finish in angled light and feel only gently for a rough edge.
- Use a deposit treatment only if the maker allows it. If the white film remains and the exact guide names vinegar, a descaler, or another product, follow that guide’s concentration, contact time, finish limits, ventilation, and rinsing steps. Do not substitute a recipe from another sink or a cookware page.
- Stop when the surface changes or the deposit is not the problem. A pit, etch, flaking area, spreading mark, exposed layer, leak, or returning stain needs an assessment. Repeated scrubbing cannot replace lost metal or repair a failed seal.
The white-spots-on-stainless-steel-pans guide explains the same mineral-film distinction for cookware, but its treatment limits belong to cookware makers. Do not carry a pan instruction over to an unknown sink.
When can you use vinegar or another acid?
Use vinegar or another acid on a stainless steel sink only when the exact sink maker approves that treatment for the finish and gives usable instructions. “Stainless steel” by itself is not permission for an acid soak.
Moen’s current care chart gives a model-specific example: for its stainless steel sinks, it lists full-strength vinegar for hard-water spots and scale, with a 5-to-10-minute swab or soak followed by rubbing, rinsing, and drying. That instruction is useful evidence that an acid treatment can be part of one maker’s sink-care system, but it is not a universal concentration or contact time. Follow your own sink maker when its instructions differ or remain silent.
Some maker guides specify a separate neutralizing rinse after an acid step. If yours does, use that sequence only as written and only after the acid has been removed as directed. Never combine vinegar, citric acid, descaler, bleach, ammonia, or another cleaner in the sink. Rinse fully before changing products, and do not leave an unapproved acid, chlorine product, or cleaner residue sitting in the basin.
Do not use chlorine bleach as a hard-water treatment. Moen and Kohler both caution against bleach or chloride exposure on stainless sinks because contact can damage the surface, and bleach does not remove the mineral film you are trying to identify.
Kohler’s kitchen sink care guidance says cleaner results depend on water hardness, water temperature, ingredient measurements, changing formulas, and the condition of the product. It advises nonabrasive cloths or sponges, working with the grain, avoiding steel wool and wire brushes, and wiping stainless sinks dry after use. Those cautions support a finish-specific method rather than a one-size-fits-all acid recipe.
If the exact guide does not mention acid, stop after the mild wash and ask the maker what it approves. A commercial stainless steel cleaner guide can help you understand product categories, but it does not override the sink maker or authorize a product on an unknown finish.
How should you rinse and dry the sink?
Rinse the entire treated area with clean water, then dry it with a soft cloth while following the sink’s grain direction. Rinsing removes loosened mineral particles and cleaner residue; drying prevents a new set of droplets from evaporating into another film.
Pay attention to places that hold water:
- around the drain flange and strainer;
- beneath a removable rack or mat after the maker permits its removal;
- along the backsplash and faucet base;
- at seams, corners, and the front rim; and
- around hanging accessories or soap residue.
Do not leave a wet sponge, cloth, rubber mat, cleaning pad, or container sitting in the basin. Moen warns that wet items and deposits can discolor a sink, and Kohler specifically connects evaporated water with new deposits. Drying after use is a prevention step, not just a cosmetic finishing step.
If a cleaner contacts a faucet, seal, drain finish, countertop, or a separate accessory, follow that component’s instructions. Do not assume that a sink-safe acid or polish is safe for every nearby surface. If the maker’s care guide does not say how to protect a joint or accessory, rinse with water and ask before continuing.
How do you prevent new mineral deposits?
Prevent new deposits by removing water and cleaner residue before they evaporate. After ordinary use, rinse away soap and food residue, wipe the basin and rim dry, and remove wet accessories instead of leaving them in contact with the steel.
If deposits return quickly, ask your local water utility for current hardness information rather than guessing from the stain. USGS notes that water hardness varies by location and that local agencies or utilities are the right source for information about a specific home. A water softener or filtered rinse may be a household decision, but this article does not prescribe one or claim it will solve every sink mark.
Look for a leaking faucet, splash pattern, or rack that keeps one area wet. Clean and dry the accessory under its own instructions. A recurring ring beside a drain can be new mineral deposit, a failed seal, a rusty separate part, or pitting at the metal, so recurrence is a reason to inspect the source rather than to keep increasing acid strength.
For broader stainless maintenance, how to clean stainless steel pans separates mineral deposits from burnt oil, stuck food, heat tint, and structural damage. The sink’s finish and maker instructions still control the sink-specific method.
When is a mark not a hard-water stain?
A mark is less likely to be only hard-water scale when it is orange, rough, sticky, etched, pitted, or tied to a wet joint or separate metal part. Use these distinctions to decide when to stop cleaning, not to diagnose the sink remotely.
| Sign | Other possibility | What to do |
|---|---|---|
| Smooth orange or brown film near a rack, pan, fastener, faucet, or drain | Transferred iron, high-iron water, or rust from another component | Remove the possible source and use only the maker-approved routine wash |
| Pinprick cavity, groove, flaking edge, thinning, or sharp spot | Pitting, etching, or physical metal loss | Stop polishing; photograph the dry area and ask the maker or a qualified professional |
| Dull patch, altered sheen, or cloudy finish after a cleaner | Finish change or chemical damage | Stop the product, rinse as directed, and preserve the cleaner label and sink details |
| Tacky, greasy, or raised film | Soap, oil, food, or cleaner residue | Use the ordinary sink-care method rather than an acid by default |
| Mark returns beside a gasket, strainer, rack, or mounting edge | Trapped moisture, a failed seal, or localized corrosion | Do not loosen hardware; ask the maker or installer to assess the joint |
The article how to make stainless steel look new again covers appearance work across stainless products. It does not turn a polished or colored sink into a generic cleaning surface. If the mark is rough or the finish has changed, appearance advice is not a substitute for a sink assessment.
Do not use an image as a diagnosis. Lighting, water, finish texture, and camera processing can make a smooth deposit look rough or hide a small pit. A photograph is useful for documenting change, but it cannot identify the alloy, finish, corrosion depth, or warranty status.
When should you stop cleaning and ask for help?
Stop cleaning and contact the sink maker, installer, or a qualified stainless professional when the surface or installation suggests damage rather than a removable film.
Escalate when you see:
- a pit, groove, crack, perforation, flaking edge, thinning, or sharp burr;
- a dull or colored finish that changes after an unapproved cleaner;
- a mark that spreads, returns after an approved wash and complete drying, or appears at a joint;
- movement, a leak, a failed seal, or water reaching the underside or cabinet;
- an unknown coating, finish, prior repair, drain component, or cleaner exposure; or
- a condition that could be covered by a warranty and might be erased by more scrubbing.
Save the model number, purchase or installation record, dry before-and-after photographs, and the names of any products used. Ask the maker whether it considers the condition mineral scale, transferred iron, finish damage, pitting, installation damage, or a service issue. Do not claim that every white mark is harmless or that every rough spot requires immediate replacement.
Frequently asked questions
Can vinegar remove hard-water stains from every stainless steel sink?
No. Vinegar can be part of a maker-approved method for some stainless sinks, but the exact finish, coating, model, concentration, and contact time control. Moen publishes a vinegar method for its sinks; another maker may restrict acids or name a different product. If your guide is silent, ask before using vinegar.
Are hard-water stains on a sink dangerous?
Hard-water mineral deposits are usually an appearance and cleaning issue. USGS describes hard water as a nuisance that can leave mineral buildup, not as a health concern. That does not identify every sink mark: pitting, chemical residue, a damaged finish, a rusty component, or a leak needs separate attention.
Why do the stains return after cleaning?
They can return when mineral-rich water or cleaner residue dries on the basin. Rinse completely, towel-dry the sink and rim, and remove wet mats or cloths. If the same spot returns despite an approved wash and drying, inspect the water source, accessory, drain, seal, and finish instead of using a stronger unknown chemical.
Can I use a commercial limescale remover?
Only if the sink maker identifies that product or product class as compatible with the exact finish and gives the required instructions. Do not assume a bathroom, toilet, appliance, or cookware descaler is safe for a sink. Never mix cleaners, and do not store open acid or bleach containers under the sink.
How did we choose these steps?
This is a research-based sink-care guide, not a hands-on cleaning test or a diagnosis service. The approved research package and review were checked August 20, 2026. I checked the current Moen stainless sink care guide, Kohler kitchen sink care guidance, and USGS information about water hardness.
Those sources support the narrow sequence here: identify the exact sink and finish, start with mild care, use an acid only when the maker permits it, rinse and dry, and escalate when the surface or installation suggests damage. The page does not prescribe one universal concentration or contact time, test cleaner chemistry, diagnose a photograph, or claim that a sink can be restored by polishing alone. Recheck the maker’s current instructions before using any acid, descaler, abrasive, or replacement part.