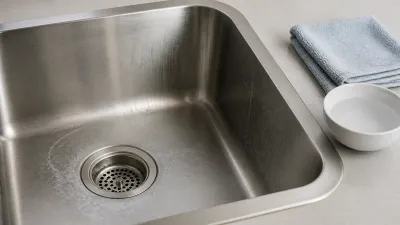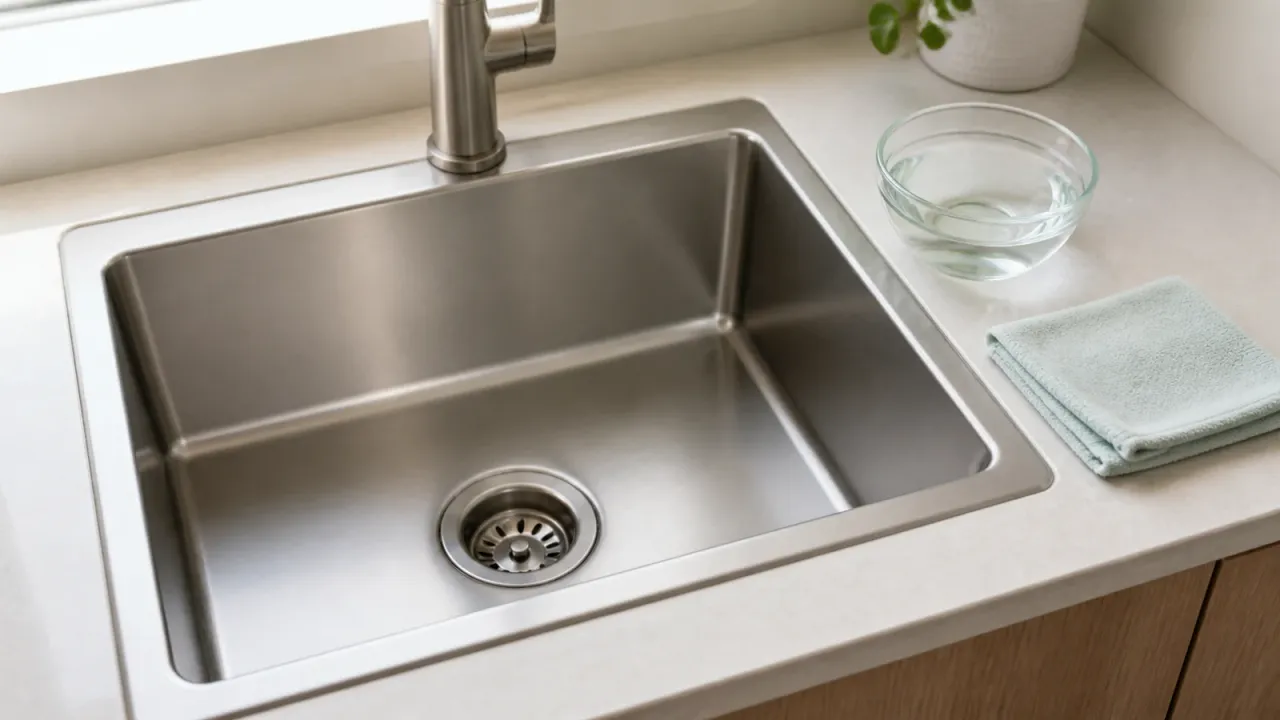
To clean a stainless steel sink without scratching it, use mild soap and water with a soft cloth or the soft side of a sponge, wipe with the grain when it is visible, rinse thoroughly, and dry with a soft cloth. Leave acids, bleach, polish, steel wool, and unknown abrasives out unless the exact sink maker approves them.
The routine below covers the whole sink: basin, rim, drain area, faucet, and removable accessories. Stainless steel alone does not identify the finish or its cleaner limits. A current Moen sink-care guide uses soap or detergent, water, a cloth or sponge, a clean-water rinse, and drying for routine care. Other makers can name different products, so your sink’s manual controls.
This is routine care and condition triage, not a restoration or diagnosis guide. Use the scheduled hard-water stain guide for mineral scale and the scheduled rusting sink guide for orange or brown marks. The stainless steel cleaner roundup compares cleaner categories, while how to make stainless steel look new again covers broader appearance work. None of those pages overrides the exact maker’s instructions for your finish.
What should you use for routine sink cleaning?
Use plain water, a small amount of mild dish soap or the cleaner named by the sink maker, and a soft cloth or nonabrasive sponge. This is the lowest-risk starting point for ordinary food, soap, and water residue on an identified sink.
Before cleaning, check the model and finish guide. A bare brushed basin, a polished surface, a colored or dark finish, a coated sink, and a separate drain or faucet part may have different limits. If you cannot identify the finish, stay with plain water and a soft cloth until the maker confirms what is compatible.
Keep the first pass simple:
- Clear dishes, standing water, and loose debris from the basin.
- Remove a rack, mat, basket, or strainer only if its instructions allow removal. Set it on a clean, dry surface.
- Wet the basin with plain water. Put mild soap on the soft side of a sponge or on a soft cloth rather than applying an unknown cleaner directly to the metal.
- Wipe the basin, sides, rim, and accessible corners with light pressure. Follow the visible brushing direction instead of making circles or cross-grain passes.
- Rinse the entire sink with clean water. Do not leave a soap film around the drain, faucet base, seams, or backsplash.
- Dry with a clean, soft cloth, following the finish direction when one is visible.
The point is to lift residue, not to polish away the surface. If a mark remains after this wash and the finish looks changed, stop increasing pressure. Identify the mark before choosing another product.
How do you clean the basin, rim, and drain area?
Clean from the basin outward, then rinse the areas that collect water or cleaner residue. A whole-sink pass matters because the drain rim, corners, overflow, and front edge can hold deposits even when the middle of the basin looks clean.
Work through these areas with the same mild method unless the maker gives a different instruction:
- Basin floor and walls. Wipe with the grain where visible and use the soft side of the sponge. Do not scrub harder just because a dull patch catches the light.
- Drain flange and strainer. Wipe the rim and the accessible strainer surface. If the strainer is removable, follow its own material and finish instructions. Do not assume a basin cleaner is safe for a plated drain, gasket, or seal.
- Corners and seams. Use a folded soft cloth or the edge of a nonabrasive sponge without forcing it into a gap. Rinse away loosened residue rather than packing it into a seam.
- Rim and backsplash. Remove soap and splash residue with the same mild wash, then dry these horizontal and vertical surfaces so droplets do not evaporate into another film.
- Overflow or drain opening. Wipe the exposed surface only. Cleaning the sink is not the same as clearing a blocked drain, and a drain treatment has separate label and plumbing requirements.
Rinse more broadly than the spot you wiped. Cleaner left at a drain, seam, or rim can affect a nearby finish or accessory. If water reaches the cabinet or the underside, stop and address the leak or installation problem rather than treating it as a surface-cleaning task.
How should you clean the faucet and sink accessories?
Treat the faucet, drain parts, racks, mats, soap dispensers, and baskets as separate components whose finishes may not match the basin. Wipe each one only with the product its own maker permits, then rinse or wipe away residue and dry as directed.
For a faucet or soap dispenser, start with plain water and a soft cloth if its care guide allows that method. Avoid spreading a sink polish, acid, abrasive, or chlorine product onto a plated, brushed, painted, or coated faucet. A cleaner that is acceptable for the basin can stain a different finish.
For a rack, rubber mat, or rinse basket, remove it only as the maker permits. Wash the accessory separately, dry its underside, and clean the area beneath it before replacing it. Do not leave wet sponges, cloths, mats, or cleaning pads sitting in the basin. Sterling by Kohler cautions against abrasive tools and recommends wiping the sink with a soft cloth to limit deposits; the exact accessory can still have its own care rules.
Do not loosen mounting hardware, plumbing, drain clips, or seals to clean a mark. A leak, movement, separated seal, or rust at a joint needs the sink maker, installer, or a qualified professional to assess it.
Should you wipe a stainless steel sink with the grain?
Yes, when the sink has a visible brushed or directional finish, wipe and dry in that direction. Moen, Sterling, and BLANCO all describe grain or brushing direction in their care instructions. A polished or mirror surface may not show a useful direction, so use a soft cloth and the exact maker’s method instead of inventing one.
Use straight, overlapping passes with light pressure. Circular scrubbing and cross-grain strokes can make a brushed finish look uneven even when they do not remove much soil. The grain is a finish cue, not proof that the sink is bare stainless steel or that every cleaner is compatible.
Do not use the grain direction to justify an abrasive. Steel wool, wire brushes, rough scouring pads, and unknown powders can scratch the surface or leave iron particles that later appear as rust. A soft cloth can still carry grit, so replace or rinse it when it becomes dirty.
What should you avoid on a stainless steel sink?
Avoid any cleaner or tool that the exact sink maker does not approve for the identified finish. In particular, do not make these routine steps:
- steel wool, wire brushes, metal scouring pads, or abrasive power tools;
- an unknown powder, scratch-removal compound, or bathroom descaler;
- bleach, chlorine products, or a chloride cleaner left on the sink;
- vinegar, citric acid, lemon juice, baking soda, or another home recipe used by default;
- polish, oil, or wax borrowed from an appliance or cookware guide; or
- a mixture of cleaners, even when one ingredient seems mild.
Some makers approve a named cleaner or acid treatment for a specific sink. That permission does not make the treatment universal. Poison Control warns that mixing bleach with an acid can create chlorine gas and that bleach mixed with ammonia can form chloramine gas. Use one product at a time, follow its label, rinse as directed, and keep cleaners in their original containers.
If a bleach or other unapproved product contacts the sink, do not add another chemical to cancel it. Follow the product and sink maker’s rinsing directions, ventilate as appropriate, and seek expert help if fumes or symptoms occur.
How do you clean a coated, colored, or unknown sink finish?
Use only the finish-specific instructions when the sink is coated, colored, dark, polished, textured, or unidentified. Do not assume that a sink described as stainless steel has the same exposed surface as a bare brushed basin.
Check the model, finish name, installation record, and care guide before using any acid, abrasive, polish, or restoration kit. BLANCO’s current sink page gives a daily dish-soap, soft-sponge, rinse, and microfiber-dry routine for its stainless sinks, but its named weekly product is specific to that maker. That kind of product permission does not transfer to an unknown sink.
If the guide is missing or silent, stay with plain water and a soft cloth, then contact the maker. Do not test a stronger cleaner on a hidden spot of an unknown finish and treat the result as proof that the whole sink is safe. A small test can still alter a coating or create a visible patch.
How can you tell when a mark needs a different guide?
Use the mark’s appearance and location to choose a safer next question, not to diagnose the sink from a photograph.
| What you notice | More useful route | First response |
|---|---|---|
| Pale chalky film, ring, or splash marks after water dries | Mineral scale or hard-water residue | Finish the mild wash, rinse and dry, then use the sink-specific hard-water guide and maker instructions |
| Orange or brown film near a rack, strainer, faucet, or wet accessory | Transferred iron, a separate rusty part, or a rust concern | Remove the possible source only as its instructions allow and use the sink-rusting guide rather than a stronger default cleaner |
| Sticky, greasy, or raised residue | Soap, food, oil, or cleaner film | Repeat the routine wash with one compatible cleaner and a clean soft cloth |
| Dull patch after a product, scratch, altered color, or cloudy finish | Finish change or chemical damage | Stop the product, rinse as directed, record its name, and ask the maker |
| Rough dot, cavity, groove, flaking edge, or sharp spot | Pitting, etching, or physical damage | Stop polishing and ask the maker, installer, or a qualified professional |
| Water below the basin, at a seal, or inside the cabinet | Leak or installation problem | Stop treating it as a cleaning issue and arrange an installation or plumbing assessment |
Cookware and shower guidance covers different products and exposures. Do not carry a pan recipe or a bathroom-fixture treatment into an unidentified sink; the sink maker’s care guide controls.
When should you stop cleaning and ask for help?
Stop cleaning and ask for help when the finish or installation may be damaged, when a mark keeps returning after an approved routine wash and complete drying, or when you cannot identify the surface or cleaner exposure.
Contact the sink maker, installer, or a qualified professional if you see:
- a pit, crack, perforation, groove, flaking edge, thinning, or sharp burr;
- a spreading or recurring mark at a drain, seam, weld, fastener, rack, or seal;
- a leak, movement, separated mounting, or wet cabinet area;
- a colored or coated finish that changed after a cleaner;
- residue from an unknown chemical or a product that was mixed with another cleaner; or
- a condition that may be covered by a warranty and could be obscured by more scrubbing.
Keep the model number, finish name, installation or purchase record, dry photographs, and the labels of products used. A photograph can document change, but it cannot determine alloy, coating, corrosion depth, or whether a mark is removable. Do not sand, polish, drill, scrape, or use a stronger chemical while waiting for the maker’s answer.
Frequently asked questions
Can you use vinegar on every stainless steel sink?
No. Some makers name vinegar or another acid for a particular sink and finish, while others restrict acids or specify a proprietary cleaner. Use vinegar only when the exact guide approves it and gives the needed instructions. Otherwise, stop after the mild wash and ask the maker.
Can you use baking soda to clean a stainless steel sink?
Only when the exact sink maker approves it for that finish and purpose. Baking soda can become an abrasive when scrubbed, and a home recipe does not establish compatibility with a coating, colored finish, faucet, drain, or seal. Never mix it into a cleaning shortcut with another product.
How often should you clean a stainless steel sink?
Follow the sink maker’s schedule and clean when food, soap, or water residue appears. Some makers publish weekly care guidance, while others emphasize cleaning after use and drying. Do not turn one manufacturer’s frequency into a universal rule for every finish.
Can you use steel wool on a stainless steel sink?
Do not use steel wool or a wire brush as a default. Current Sterling and Moen guidance warns against these tools because they can scratch the surface or contribute to rust and pitting. Use the soft cloth or nonscratch pad the exact maker allows.
How do you clean the sink drain?
Wipe the exposed drain rim and strainer with the sink maker’s approved mild method, then rinse and dry. Clearing a clog is a separate plumbing task. Do not pour an unknown drain cleaner into a sink merely because it is stainless steel, and do not assume a basin cleaner is safe for the drain finish or seals.
Sources
- Moen, Stainless Steel Sink Care and Cleaning Guide (retrieved 2026-08-22)
- Sterling by Kohler, How to Clean and Care for Stainless Steel Sinks (retrieved 2026-08-22)
- BLANCO, How to Clean a Stainless Steel Sink (retrieved 2026-08-22)
- Kohler Assist, Problem with Rust on Stainless Steel Product (retrieved 2026-08-22)
- Poison Control, Chlorine Gas: Get the Facts (retrieved 2026-08-22)