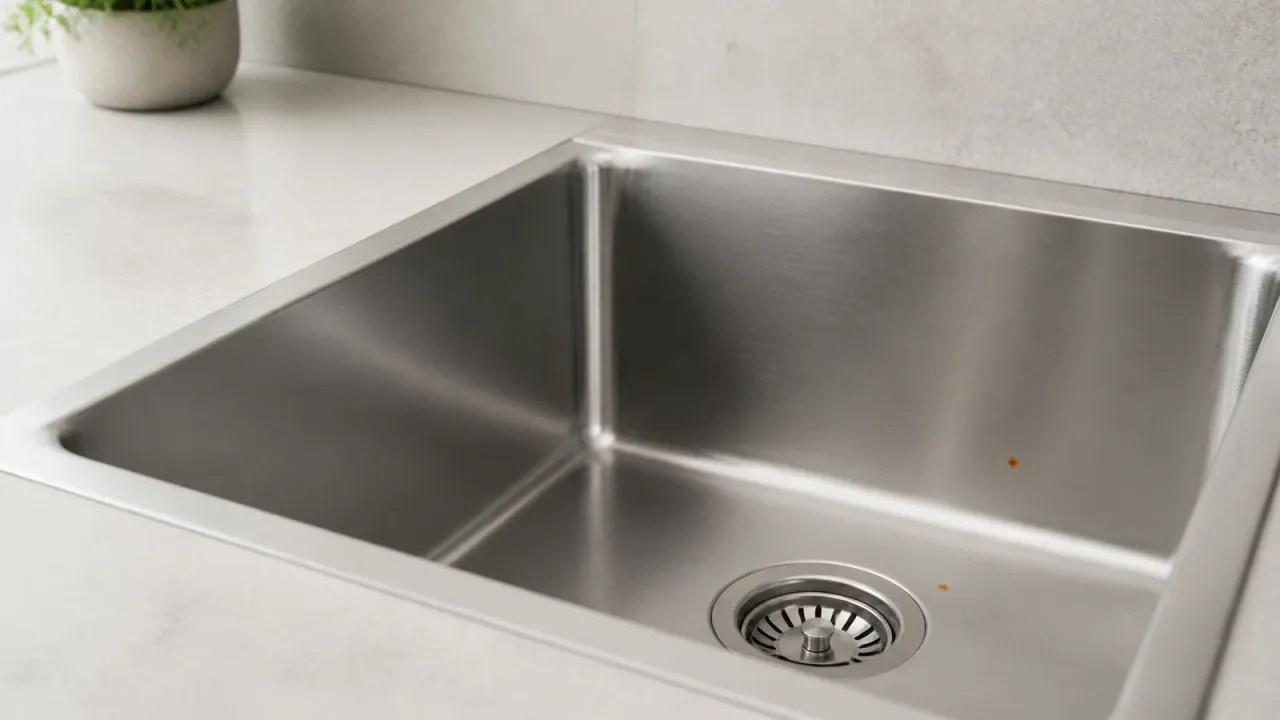
A rust-colored mark on a stainless steel sink does not, by itself, prove that the sink body is rusting. It may be iron transferred from a carbon-steel item, residue or mineral staining, or localized corrosion where chlorides, standing residue, a wet crevice, surface damage, or the wrong environment have defeated the stainless steel’s passive protection.
Start with the location and texture of the mark, then follow the sink maker’s current care guide. On a cool, dry, identified sink, one maker-approved and reversible cleaning observation can make surface transfer more plausible. It cannot certify that hidden metal is sound or diagnose corrosion from a photograph.
What does the rust-colored spot look like?
The first useful distinction is texture. A smooth orange film is more consistent with surface transfer or residue than a rough cavity, but appearance is only a starting clue.
| What you see | More consistent with | What it does not prove | Safer next step |
|---|---|---|---|
| Smooth orange or brown film that follows the shape of a rack, pan, tool, or wet object | Transferred iron, carbon-steel particles, or residue on the surface | It does not prove that the stainless beneath is undamaged | Remove the possible source and use only the maker’s approved routine cleaning method |
| A smooth mark that changes after washing, rinsing, and drying | Surface soil, water deposits, or transferred material | It does not rule out corrosion at an edge, seam, or hidden joint | Inspect the dry finish in angled light before trying anything stronger |
| Rough orange-brown area that remains, spreads, or returns | Active corrosion, embedded contamination, or an exposure problem | It does not identify the alloy or the depth of damage | Stop escalating abrasion and ask the maker or a qualified stainless professional |
| Pinprick holes, a groove, flaking, a thin edge, or visible metal loss | Pitting or another physical defect | It does not mean the whole sink needs immediate replacement | Stop polishing; document the damage and request an assessment |
| White, gray, or chalky film without orange color | Mineral scale, soap film, or cleaner residue | It does not establish corrosion | Check the sink care guide for a compatible deposit method |
The British Stainless Steel Association’s cleaning guidance says rust marks on stainless items are often caused by carbon-steel particles attached to or embedded in the surface, and that a trial on a small, unobtrusive area should be used before a cleaning preparation or abrasive medium. That guidance helps explain why an orange mark can be real rust without being proof that the sink substrate itself has corroded.
Do not treat a spot that lifts as a guarantee that the basin is sound. A mark can be transferred contamination on an intact area while a separate pit, seam, fastener, or underside condition needs attention.
Which part of the sink is actually rusting?
Identify the component before you blame the basin. A removable drain part, carbon-steel accessory, mounting fastener, faucet component, or plumbing deposit can create a rust-colored mark on nearby stainless steel without the same condition existing in the sink body.
| Location | What to check | Why the distinction matters |
|---|---|---|
| Basin floor or wall | Whether the mark is smooth, rough, pitted, or beside a scratch | The exposed basin can collect residue, but a rough or returning mark needs more than a cosmetic assumption |
| Drain, strainer, overflow, or removable basket | Whether the separate part is stainless, plated, coated, or ordinary steel | A different component can corrode or shed particles onto the basin; follow its own care instructions |
| Bottom rack, rubber mat, sponge, cloth, or dishpan | Moisture and grit trapped underneath, plus the material touching the steel | Wet contact can hold deposits against the finish; remove and clean accessories only as their makers permit |
| Clips, brackets, screws, and mounting edge | A dissimilar fastener, failed seal, wet joint, or trapped debris | A tight, low-oxygen crevice can behave differently from the open basin |
| Faucet aerator, supply, or nearby plumbing | Iron particles, construction debris, a leak, or a component that is not stainless | Water or debris can deliver staining to the sink; it is a plumbing or water-quality question, not automatically a basin failure |
| Underside or cabinet area | A leak, failed mounting seal, or fumes from stored chemicals | The underside has a different exposure from the wash surface and may need an installer or maker to inspect it |
Franke’s current stainless sink care page notes that iron supply pipes and wire rods can deposit small particles that appear as brown rust spots. For recurring stains in a newly built or remodeled kitchen, it recommends checking for debris behind the faucet aerator. That is a reason to inspect the water path, not a reason to assume an imported sink or an unknown grade is defective.
Kohler’s rust troubleshooting guidance also separates the basin from its surroundings. It attributes many surface marks to metallic particulate and says rust on the underside can be related to fumes from household chemicals stored below the sink. If you inspect a cabinet, do not open, move, or mix chemicals to test a theory.
What causes a stainless steel sink to stain or corrode?
The usual causes fall into two groups: something rusty has reached the surface, or the sink’s local environment has become aggressive enough for stainless corrosion. A grade label alone cannot decide between them.
Transferred iron from nearby carbon steel
Carbon-steel pans, cast-iron items, ordinary steel wool, wire brushes, metal chips, fasteners, and mixed-metal tools can leave iron on stainless steel. When that iron becomes wet, it can oxidize into an orange or brown mark. The mark may sit on the surface or become lodged in a scratch or textured finish.
The BSSA’s iron-contamination explanation describes rust staining from contact with non-stainless items, including a slight brown bloom and more severe marks. It also explains that a contamination test used in industrial work is different from simply seeing rust. Do not improvise a chemical test at home to certify the sink or a warranty claim.
Chlorides, bleach, and salty residue
Chlorides can damage the passive film and make localized pitting or crevice corrosion more likely. Salt residue, some chlorine-containing cleaners, pool or coastal exposure, and concentrated liquids can create a more demanding environment than ordinary brief tap-water contact. Exposure time, temperature, deposits, finish, fabrication, and the specific alloy all matter.
The Australian Stainless Steel Development Association’s corrosion guidance explains that stainless steel relies on a thin chromium-oxide passive layer and that aggressive environments can produce pits. Teka’s sink maintenance guidance says to avoid chlorine and hydrochloric-acid cleaners, prolonged high-salt liquids, and prolonged direct contact with iron parts.
Never use bleach as a home rust treatment, leave an unapproved chlorine product in the basin, or mix cleaners. If an approved product accidentally contacts the sink, follow the exact maker’s rinsing instructions rather than adding another chemical.
Wet crevices and standing residue
Water trapped under a gasket, fastener, rack, mat, label, or deposit can have less oxygen and a different chemistry from the open basin. Chlorides can concentrate in that stagnant space. This is why a spot at a drain edge, mounting joint, or accessory contact may deserve more attention than an isolated smooth film.
ASSDA’s explanation of crevices and corrosion lists gaps under washers, bolt heads, gaskets, and other tightly held materials as possible crevices. It explains that limited oxygen and concentrated chlorides can break down passive protection. A visible line beside a fastener is not enough to diagnose crevice corrosion, but it is enough to avoid aggressive scrubbing and check the joint.
Grade, finish, and environment together
Stainless steel is a family of alloys, not a single waterproof material. A sink made for an ordinary indoor kitchen can perform differently from a part exposed to salt, concentrated chemicals, heat, or a poorly drained joint. Is stainless steel waterproof? explains why water resistance depends on the complete product and its environment.
Bathroom fixtures face some of the same chloride, deposit, and crevice risks, but does stainless steel rust in the shower? addresses shower hardware and jewelry rather than diagnosing a kitchen sink.
316 generally has more resistance to chloride-driven pitting than 304 because of its molybdenum content, but neither grade is a universal guarantee. Our 304 versus 316 stainless steel comparison covers that tradeoff. Do not use a grade name to dismiss a rough pit, a failed seal, contamination, or a finish that the maker has not identified.
What is the safest first check?
The safest first check is a maker-approved observation on a cool, dry, identified sink. It should remove only ordinary surface residue, leave the finish unchanged, and give you a reason to stop or escalate.
- Identify the sink. Find the maker, model, finish, installation date, and care or warranty instructions. A bare brushed basin, a coated or colored finish, a drain strainer, and a plated accessory can have different limits.
- Separate the parts. Empty the basin and remove only accessories that the maker treats as removable. Set a rack, mat, strainer, or basket aside on a clean dry surface. Do not loosen mounting hardware or plumbing to investigate a mark.
- Let the surface cool and dry. Remove standing water, wait until the sink is cool, and take a clear photograph before cleaning. Photograph the whole basin and the close-up, including the location of the mark. A photo records change, but it cannot diagnose hidden corrosion.
- Use the routine method in the sink’s guide. Many maker instructions start with mild soap or detergent, water, a soft cloth or sponge, a clean-water rinse, and drying. Use that sequence only when the exact sink maker permits it. Work with the visible grain when the guide says to do so.
- Stop at the first observation. If the maker names a sink-safe rust-stain cleaner or non-scratch nylon pad, use it only on a small inconspicuous area of the same finish and exactly as directed. Use one product at a time. Never use steel wool, a carbon-steel brush, an abrasive power tool, an unknown acid, or an improvised chemical test.
- Inspect after rinsing and drying. If the smooth mark lifts and the finish looks unchanged, transferred material or residue becomes more plausible. If the area is still rough, pitted, flaking, spreading, or returning, the observation has reached its limit. Do not keep abrading to force a cleaner-looking result.
Moen’s stainless sink care guide recommends rinsing and drying after cleaning, warns against steel wool, and says high-iron water can leave brown stains. Its instructions are for Moen sinks, not a universal recipe for every finish. Use the exact guide for the sink you own.
If you are choosing a compatible maintenance product after identifying the sink, the stainless steel cleaner guide compares surface categories and cautions. It is a cleaner-selection resource, not permission to put an appliance, cookware, or sink product on an unknown finish.
When should you contact the maker or a professional?
Contact the sink maker, installer, or a qualified stainless professional when the visible condition could involve lost metal, a wet joint, a leak, or a warranty question. A stronger household cleaner cannot repair those conditions.
Escalate when you find any of the following:
- a pit, groove, crack, perforation, flaking edge, sharp burr, thinning, or widening area;
- a mark that returns after the maker’s approved cleaning and complete drying;
- corrosion around a drain, overflow, fastener, mounting edge, weld, or failed seal;
- a leak, movement, failed mounting, separated seal, or damage below the basin;
- an unknown coating, finish, alloy, accessory, or prior repair that could change the care rule;
- a condition that affects a surface used for food preparation or leaves chemical residue you cannot identify; or
- a warranty claim where cleaning first could remove useful evidence.
Keep the before-and-after photographs, model information, purchase or installation record, and the exact products used. Ask the maker what it considers a surface stain, acceptable finish change, pitting, installation issue, or warranty defect. Do not claim that every rust spot is harmless, that every pit requires immediate replacement, or that a photo can settle those questions.
Frequently asked questions
Is every orange spot on a stainless steel sink proof that the sink is rusting?
No. Orange material can be transferred iron, carbon-steel debris, high-iron water residue, or corrosion on a separate part. A smooth mark that changes with an exact-maker-approved wash is more consistent with surface material, while roughness, pitting, recurrence, and growth need a closer assessment. Neither color nor a photograph identifies the depth of damage.
Can I use bleach or steel wool to remove rust from a stainless steel sink?
Do not use either as a default. Bleach or other chlorine products can damage stainless steel when left in contact, and steel wool can scratch the finish and leave iron particles that rust later. Follow the sink maker’s instructions, use one compatible product at a time, rinse as directed, and never mix cleaners.
Can hard water make a stainless steel sink look rusty?
Yes, hard water or water with a high iron content can leave brown or mineral staining. That does not prove the basin has corroded. Dry the sink after an approved routine wash, look for deposits at the faucet or drain, and investigate a mark that is rough, recurring, or located at a wet joint.
Should I replace a stainless steel sink because of one rust spot?
Not from one spot or one photograph alone. First identify the component and follow the maker’s conservative cleaning observation. Replacement or professional advice becomes more relevant when metal is missing, pits are deep or widening, a leak or failed mounting is present, the mark returns after approved cleaning, or the sink’s condition is uncertain for its intended use.