To remove rust from stainless steel without making it worse, identify the mark before scrubbing. A smooth orange film may be iron transferred from ordinary steel, while heat tint, active corrosion, mineral deposits, and pitting need different responses. Start with the maker’s mild cleaning method, use only a compatible approved cleaner on a tested spot, then rinse and dry the surface completely.
Stainless steel can naturally form a chromium-rich passive film again when a clean surface is exposed to oxygen. That does not make every rust-colored mark harmless, and ordinary cleaning is not the same as certified chemical passivation. The British Stainless Steel Association’s passivation guide explains the difference.
What kind of mark is on the stainless steel?
The mark’s texture, color, location, and history give you a starting diagnosis, but visual clues cannot confirm an unknown coating or the depth of corrosion.
| What you see | More likely explanation | Safe next move |
|---|---|---|
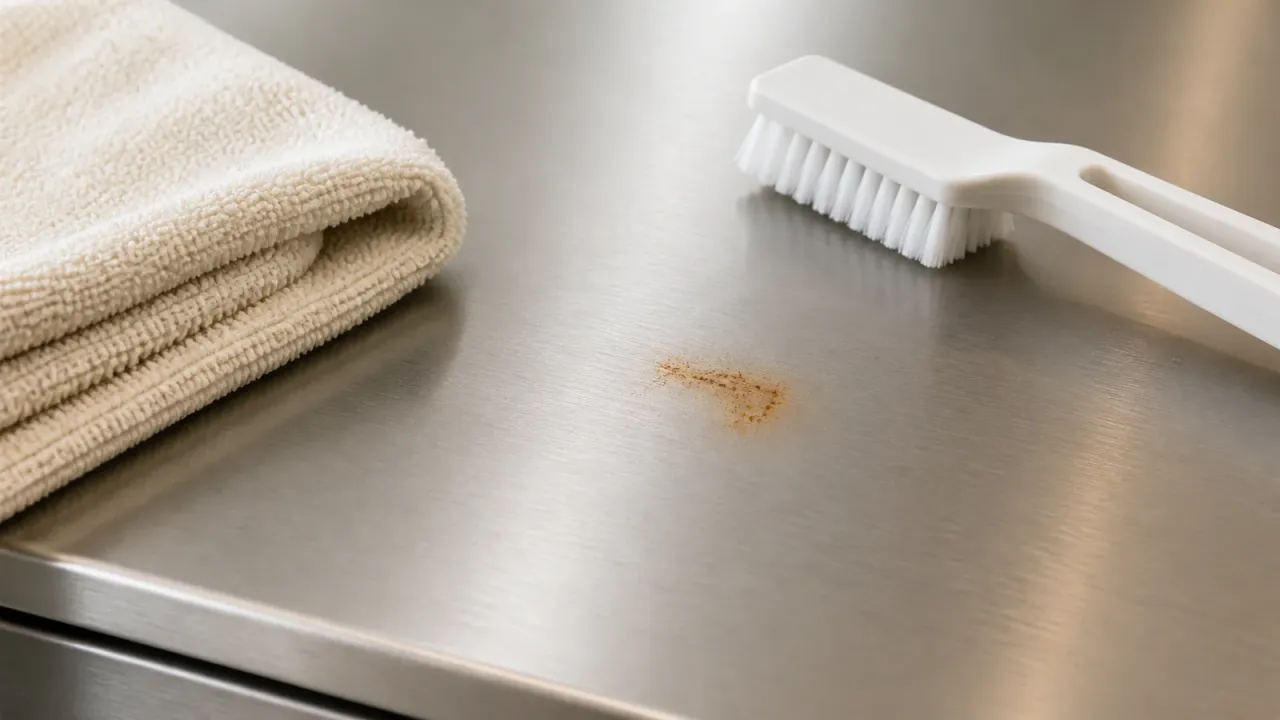
| Smooth orange or brown film, often under a steel object or beside a scratch, with no cavity | Transferred iron contamination | Wash gently, then use a maker-approved stainless cleaner if the finish allows it |
| Smooth blue, gold, purple, or rainbow color after heating | Heat tint or another surface discoloration | Treat it as discoloration, not automatically as rust; follow the maker’s care instructions |
| Rough orange or brown area that remains after washing or returns quickly | Active corrosion, contamination in a damaged area, or an unsuitable environment | Stop escalating abrasion and ask the maker or a qualified metal finisher for an assessment |
| Pinprick holes, grooves, flaking, a thin edge, or a growing rough patch | Pitting or other metal loss | Stop cleaning and using the item if safety or food contact could be affected |
| White, chalky, or gray film without orange color | Mineral scale, soap, or cleaner residue | Check the care guide for a deposit-safe method instead of using a rust treatment |
Iron contamination is common when carbon-steel tools, supports, wire brushes, or steel wool touch stainless steel. The BSSA’s technical guide to pickling and passivating stainless steel notes that this can look like corrosion of the stainless itself even when the brown bloom is on the surface. Our guide to whether stainless steel is waterproof covers the wider role of water chemistry, deposits, crevices, and exposure time.
Do not assume every stain is rust. A smooth heat tint is a different problem from a rough pit, and a coating can change what a cleaner does. If you cannot identify the item as bare stainless steel, follow its manual before choosing any treatment.
When should you stop before trying to remove the rust?
Stop and contact the manufacturer or a qualified professional when the surface is deeply pitted, flaking, structurally thin, perforated, or coated with an unknown finish. Also stop when a food-contact surface has an unknown cleaner residue, when the mark keeps returning, or when the maker prohibits the treatment you planned to use.
Do not use a rust remover on a fingerprint-resistant or black-stainless finish unless its manufacturer approves that exact product. Whirlpool, for example, warns that some of its coated finishes can be damaged by abrasives, vinegar-based cleaners, ammonia, and oven cleaners in its stainless surface care instructions. A cleaner that is suitable for bare cookware may damage a clear coat.
Never use chlorine bleach as a default rust treatment. Do not use ordinary steel wool, carbon-steel brushes, or a pad previously used on carbon steel. They can scratch the surface and leave iron behind. The World Stainless home-cleaning guide warns about both chloride cleaners and ordinary carbon-steel scouring pads.
Never mix cleaners. Use one product at a time, keep it in its original container, and follow its label for ventilation, gloves or other PPE, contact time, and disposal. Poison Control’s household-cleaner guidance explains why bleach, acids, and ammonia must not be combined. Rinse the surface fully before changing methods. If fumes, eye irritation, coughing, dizziness, or breathing trouble start, leave the area and seek appropriate poison or medical advice.
What is the safest rust-removal sequence?
The safest sequence is identify, spot-test, wash, use one approved treatment if needed, rinse, dry, and inspect. This keeps a small surface mark from becoming a scratched finish or a chemical residue problem.
- Read the care instructions. Identify the product, finish, and intended use. Check whether the surface is bare, brushed, polished, fingerprint-resistant, plated, painted, or food-contact. The exact maker’s instructions take priority over a general stainless-steel tip.
- Remove the source of contamination. Move the wet carbon-steel tool, rack, can, fastener, or other object that may have left iron behind. Do not drag it across the surface. If the item is part of a fixture, correct the source of trapped water or contact only as the maker permits.
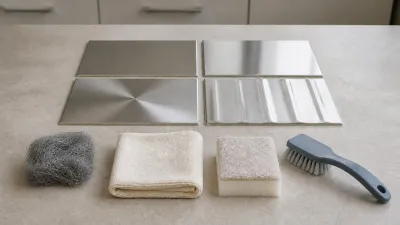
- Spot-test first. Choose a hidden area and use the least aggressive tool the maker allows, such as a clean microfiber cloth or soft nylon brush. On a brushed finish, work in the grain. Stop if the color, gloss, or grain changes.
- Wash the surface. Use warm water and a small amount of mild detergent if the care guide allows it. Wipe gently, rinse with clean water, and dry with a clean cloth. The BSSA lists soap or mild detergent followed by a clear-water rinse as the usual domestic starting point, and its cleaning-methods table puts light rust staining ahead of more aggressive options.
- Use a compatible treatment only if the mark remains. Choose a stainless cleaner or rust-stain product that the item maker and product label both allow for that finish. Apply it only to the tested area, use the label’s contact time, and keep the work area ventilated. BSSA describes proprietary gels and controlled phosphoric- or oxalic-acid treatments for localized carbon-steel contamination, but that is a reason to use a labeled product or qualified service, not to mix an acid at home.
- Rinse before the cleaner dries. Remove every trace of the product with fresh water, including from seams and crevices. Follow the label if it requires a neutralizing or second rinse. Do not leave a rust remover or disinfectant to evaporate on the metal.
- Dry and inspect. Towel-dry the surface, look across it under good light, and check for roughness, pits, flaking, or a returning mark. If the surface is food-contact, use it again only when the maker’s instructions and the cleaner label support that use and you are confident no residue remains.
Some manufacturers publish a mild option for a specific appliance. GE’s surface-rust guidance, for example, describes a baking-soda-and-water paste or a grit-free oxalic-acid liquid cleanser for compatible surfaces, with a clean-water rinse and grain-direction rubbing. That is a product-specific example, not a universal recipe. Do not copy it onto a coated, plated, food-contact, or unidentified surface without approval.
If the maker permits a commercial cleaner but you are unsure which type fits an appliance, pan, sink, or other item, see our guide to stainless steel cleaners for the category distinction. Product category alone does not override the item’s care instructions.
How should you treat each diagnosis?
The right treatment depends on what the mark represents, so use the following boundaries instead of one universal rust recipe.
Transferred iron contamination
Treat a smooth rust-colored deposit as contamination first. Remove the carbon-steel source, wash the area, and use a maker-approved rust-stain cleaner only if the mark remains. Use a soft cloth or non-metallic nylon tool and follow the grain. Do not use steel wool to make the spot look clean for a moment, because it can leave the next source of rust behind.
If the mark came from a shower rack, fastener, or other wet fixture, our guide to stainless steel rust in the shower explains why trapped moisture, chlorides, deposits, and mixed-metal contact can change the risk. This article’s job is the recovery step, not a blanket promise about the fixture’s environment.
Heat tint or surface discoloration
Treat a smooth blue, gold, or rainbow patch as heat tint or another discoloration until the maker says otherwise. Use the care method for that finish, and do not jump to a rust remover or coarse abrasive. Heat tint can be cosmetic, but aggressive polishing can change a brushed or polished finish.
Active corrosion
Treat a rough, recurring, or spreading orange-brown area as a corrosion warning. A cleaner may remove the visible deposit without fixing the environment or damage underneath. Ask the maker or a qualified stainless finisher about the grade, finish, crevice, chloride exposure, or contamination source before repeating treatment.
The 304 versus 316 stainless steel comparison explains why grade can change chloride resistance, but a grade label does not make a damaged or coated product safe for every exposure. Do not use the comparison as permission to ignore the exact item’s care guide.
Pitting or metal loss
Treat a cavity as missing metal, not as a stain waiting for a stronger cleaner. Cleaning can remove loose residue around a pit, but it cannot put the lost metal back or certify the remaining surface. Stop using deeply pitted cookware or a damaged food-contact part, and ask the manufacturer about replacement. A load-bearing or pressure-related part deserves professional assessment rather than home polishing.
Does cleaning restore the stainless steel passive layer?
Cleaning can remove contamination and leave a clean surface that may naturally repassivate in air, but household cleaning does not certify industrial passivation. BSSA says clean stainless can self-passivate when it is exposed to enough oxygen, while formal treatments use specified chemistries, process controls, and tests under standards such as ASTM A967.
That distinction matters after rust removal. Do not promise that a household paste has restored a tested passive layer, and do not apply nitric, hydrofluoric, or other pickling or passivation chemicals at home. BSSA says those processes should be handled by competent fabricators or stainless-steel finishing specialists. The practical home goal is narrower: remove the contaminant with a compatible method, rinse away the treatment, dry the item, and prevent the source from returning.
Frequently asked questions
Is every orange mark on stainless steel rust?
No. A smooth orange or brown film can be transferred iron, while a smooth blue or rainbow film is more consistent with heat tint and a white film may be mineral scale. Roughness, pits, flaking, or a mark that returns after cleaning need a more cautious assessment.
Can vinegar remove rust from stainless steel?
Do not treat vinegar as a universal rust remover. Some stainless-care guides allow diluted vinegar for limescale or certain discoloration, while some coated appliance makers prohibit vinegar-based cleaners. Use vinegar only when the exact item maker approves it for the mark you have, and never mix it with bleach or another cleaner.
How do I know whether rust has damaged the stainless steel?
Look for roughness, pinprick cavities, flaking, thinning, a spreading edge, or a mark that returns after the surface is cleaned and dried. A smooth deposit that lifts without changing the finish is more consistent with surface contamination, but visual inspection cannot rule out damage beneath an unknown coating. Stop and ask the maker when the surface is food-contact, structural, or otherwise safety-critical.