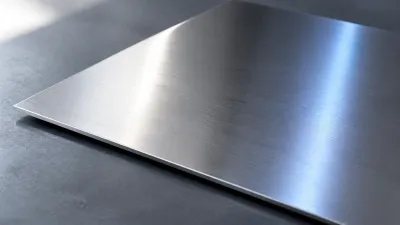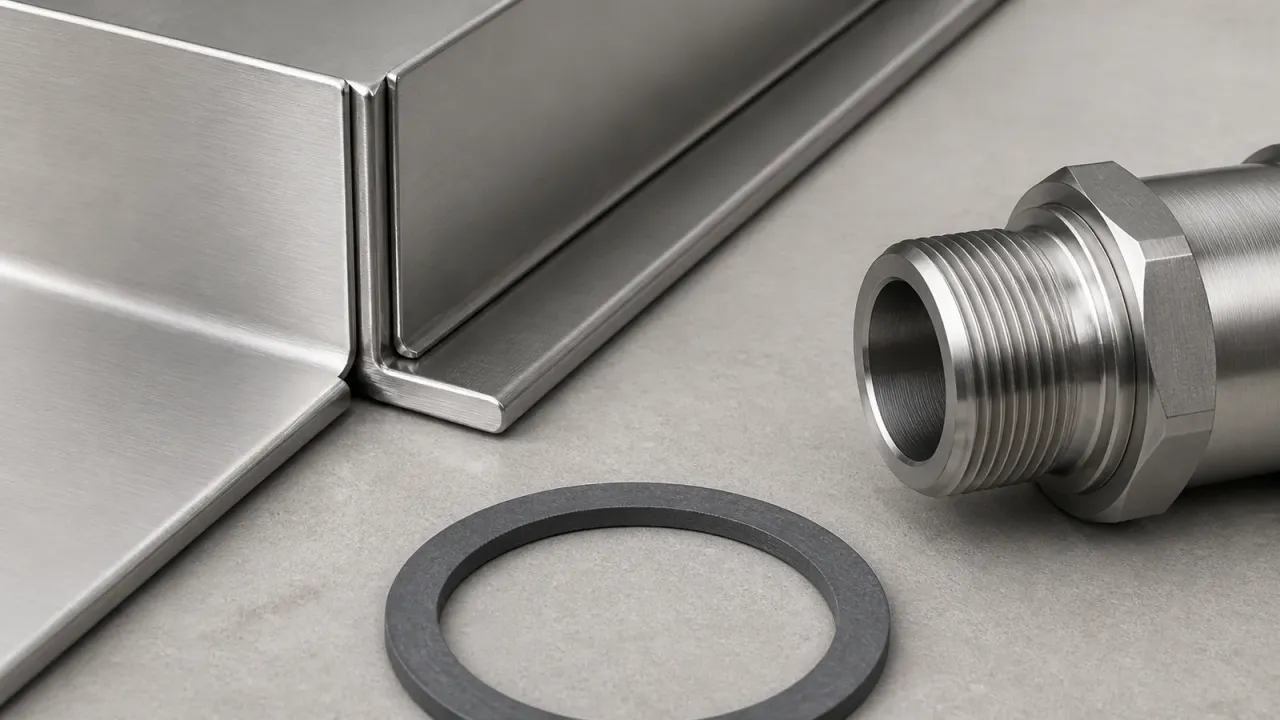
Crevice corrosion is localized corrosion that develops in a confined, stagnant space where fresh oxygen cannot reach the stainless steel surface easily. A gasket edge, folded seam, threaded joint, incomplete weld, or deposit can create that space. The name describes a corrosion mechanism, not a diagnosis that can be confirmed from a photograph or a single orange mark.
Stainless steel relies on a very thin passive film for much of its corrosion resistance. The film is not a guarantee against every grade, finish, design, water chemistry, cleaner, or service condition. The British Stainless Steel Association’s overview of stainless corrosion mechanisms and World Stainless corrosion-resistance module describe the mechanism and its limits. This guide explains the science and a cautious inspection path; it does not prescribe a passivation treatment or a universal cleaning cure.
What is crevice corrosion?
Crevice corrosion is localized attack inside or beside a shielded gap, contact area, or deposit that restricts exchange with the surrounding environment. The exposed surface can look relatively normal while the confined area develops a different chemistry.
The gap must allow an electrolyte such as damp water to enter and then remain stagnant enough for the local chemistry to diverge. It is not defined by one universal gap width, chloride level, exposure time, or stainless grade. The BSSA’s crevice-corrosion guidance specifically cautions that there is no absolute critical crevice dimension below which attack is certain.
Crevice corrosion can begin on many stainless grades when the environment and geometry are unfavorable. A more corrosion-resistant grade can reduce risk in a defined environment, but it cannot turn a poorly draining, contaminated, or damaged assembly into an immune one.
Where do crevices form?
Crevices can form anywhere a stainless surface is shielded from circulation, rinsing, and oxygen, but the exact risk depends on the item’s design and use.
| Possible site | Why it can matter | What to check without forcing the part |
|---|---|---|
| Gasket, seal, or rubber mat edge | Moisture and salts can remain at the contact line | Look for trapped residue, a lifted seal, or a gap the maker identifies as serviceable |
| Folded, overlapping, or nested sheet edges | A narrow pocket may drain poorly | Check the outside and accessible inside surfaces for recurring deposits or roughness |
| Threaded, bolted, or clamped joint | Threads and contact faces can retain electrolyte | Inspect the visible joint and fastener material; do not loosen hardware as a corrosion test |
| Weld, seam, or fitting | A rough, undercut, or incompletely penetrated joint can shield liquid | Follow the maker’s inspection or service instructions rather than sanding or grinding it |
| Mineral, food, salt, or sludge deposit | A deposit can behave like a shielded crevice on an otherwise open surface | Remove only with the item’s approved routine method, then rinse and dry before inspecting |
The FDA Food Code’s equipment provisions illustrate why food-contact design matters: surfaces are expected to be corrosion-resistant, smooth, durable, and easily cleanable under their intended use. That model code is not a certification for an unidentified household item, but it explains why an inaccessible food-contact seam or deep pit deserves more caution than a cosmetic mark on a decorative exterior.
How does oxygen depletion drive the attack?
Oxygen depletion changes the electrochemical conditions inside the crevice, and chloride and pH changes can then destabilize the passive film.
The sequence is easier to understand as a chain:
- Damp electrolyte enters the gap, and the stainless surface initially behaves much like the surrounding surface.
- Oxygen inside the confined space is consumed faster than it can be replenished from the bulk environment.
- The crevice and the outside surface no longer have the same electrochemical conditions. Metal ions can accumulate in the confined area while the surrounding surface supports the complementary reaction.
- Chloride ions from the surrounding moisture can migrate into the crevice. Hydrolysis and ion concentration lower the local pH.
- The passive film breaks down locally. Once the chemistry is sufficiently aggressive, corrosion can sustain itself inside the crevice even when the outside surface looks mostly intact.
The BSSA mechanism explanation describes oxygen use, chloride migration, acidification, and depassivation. Outokumpu’s current corrosion-resistance guide likewise identifies confined spaces, deposits, chlorides, low pH, temperature, and oxidizing chemicals as factors that can increase localized-corrosion risk. These are interacting conditions, not a household threshold calculator.
How is crevice corrosion different from pitting, staining, or galvanic corrosion?
The appearance may overlap, but the mechanism and next decision differ.
| Condition | Typical mechanism or clue | Why the distinction matters |
|---|---|---|
| Crevice corrosion | Localized attack at a gasket, joint, seam, deposit, or other oxygen-limited space | The hidden geometry and trapped environment must be addressed; polishing the visible edge may not reach the attack |
| Pitting corrosion | Small, discrete cavities on an exposed surface, often associated with chloride exposure | A pit is metal loss, not merely a stain; cleaning cannot restore the missing metal |
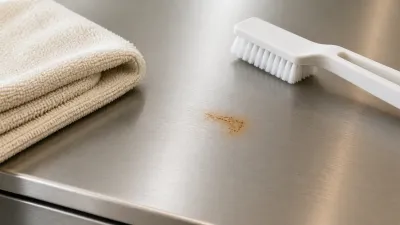
| Surface staining or transferred iron | Smooth orange, brown, gray, or rainbow discoloration from deposits, iron particles, minerals, or heat tint | The color may be removable, but a smooth mark does not rule out a separate pit or crevice nearby |
| Galvanic corrosion | Dissimilar metals connected through a conductive liquid, with the less noble metal preferentially attacked | The source may be a fastener, fitting, rack, or adjacent component rather than the stainless surface itself |
| Uniform corrosion | Broad metal loss across much of a surface in a strongly aggressive environment | It is a different pattern and may require materials or process review rather than spot cleaning |
The BSSA identifies pitting, crevice, and bimetallic corrosion as separate forms, while World Stainless shows galvanic corrosion as an electrical interaction between dissimilar metals in an electrolyte. One item can have more than one mechanism at once. For example, a carbon-steel fastener can produce transferred rust or galvanic attack beside a stainless crevice.
Do not use color, a close-up photograph, or the location of one mark as a definitive diagnosis. A smooth stain may be superficial, and a rough-looking mark may conceal a deeper cavity or an unknown coating. The guide to why stainless steel can rust in a shower covers the broader role of moisture, chlorides, deposits, and mixed-metal contact in a wet fixture.
What conditions make crevice corrosion more likely?
Risk rises when a susceptible material, aggressive environment, and stagnant geometry occur together.
- Restricted geometry increases risk: tight, deep, poorly drained, or shielded gaps give electrolyte and corrosion products less opportunity to exchange with the surrounding environment.
- Chlorides and halides can challenge the passive film. Salt, brine, deicing residue, seawater, some disinfectants, and chlorine-containing products are examples. Do not infer a safe concentration from a general household label.
- Low pH or oxidizing exposure can make localized attack more likely. A stronger cleaner is not a safer treatment.
- Higher temperature and longer stagnant exposure can increase the severity of an otherwise marginal condition.
- Deposits and contamination can shield or weaken the surface. Scale, food residue, sludge, iron particles, weld heat tint, and rough fabrication are common examples.
- Grade and finish affect resistance. Chromium supports passivity, while molybdenum and nitrogen can improve resistance to localized corrosion in suitable grades. Surface finish, fabrication, weld quality, and maintenance still matter.
The 304 versus 316 stainless steel comparison explains why 316 often offers more chloride resistance than common 304, but a grade label is not a guarantee for an assembled product. The complete item’s geometry, finish, fasteners, gasket, temperature, chemical exposure, and drainage still control the result. World Stainless describes PREN as a comparative indicator rather than a universal service prediction.
How should you inspect a suspected crevice?
Inspect a suspected crevice as a controlled observation, not as a visual diagnosis or an invitation to escalate chemicals.
- Identify the item and its use. Record the model, material or finish claim, food-contact or structural role, and the location of the mark. Read the exact maker’s care and service instructions first.
- Stop the exposure. If practical, remove salt, cleaner, food, or standing water using the maker’s routine method. Work on a cool, stable item with ventilation and protective practices appropriate to the product instructions.
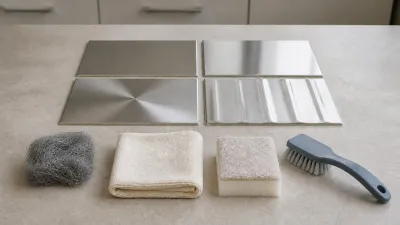
- Use only routine approved cleaning. If the maker allows it, a mild wash followed by a thorough clean-water rinse and drying may remove loose residue. Do not mix cleaners, use bleach or an unknown acid, or assume that a rust remover, abrasive, or passivation chemical is appropriate.
- Inspect dry and under good light. Look at the accessible edges of gaskets, folded seams, threaded joints, welds, drains, fasteners, and deposits. Do not pry apart, drill, grind, sand, or loosen a joint as a home test.
- Separate film from metal loss. A smooth film that changes after approved cleaning is more consistent with a deposit than a rough cavity, flake, crack, open seam, leak, or sharp edge. That clue is not a diagnosis.
- Document without over-interpreting. Take dry photographs beside a size reference, note the exposure and cleaning method, and keep the model information. Photographs can show change over time but cannot establish alloy, coating, depth, or structural integrity.
For routine pan care, use the maker’s instructions and the stainless steel pan cleaning guide. Its cleaning steps are not a treatment for confirmed crevice corrosion. A clean and dry appearance does not prove that hidden metal loss or a failed seal is gone.
How can you reduce the risk?
Prevention means limiting stagnant deposits and choosing a complete stainless assembly for its actual environment.
What design choices help?
Use open, drainable junctions where the application permits. Avoid unnecessary tight crevices, dead legs, unsealed overlaps, and inaccessible deposits. In fabricated equipment, smooth and properly penetrated welds reduce shielded pockets; the exact welding and inspection standard belongs to the fabricator or engineer. A gasket can prevent leakage while still creating a crevice, so sealing a joint is not the same as eliminating corrosion risk.
The BSSA prevention guidance emphasizes open junctions, sound fabrication, and removing deposits. For an existing consumer item, do not modify the seam or replace a gasket with a substitute material unless the maker approves it.
How should material and environment be matched?
Choose a grade and finish for the real chloride, temperature, pH, wetness, and cleaning environment. A grade selected for an indoor dry setting may not suit a saltwater, pool, chemical, or continuously wet application. More alloying can improve resistance, but no grade is universally corrosion-proof in every geometry.
Avoid wet contact between dissimilar metals when the design does not account for galvanic corrosion. Use compatible components or the isolation and drainage method specified by the maker or engineer. Do not assume that a stainless bolt, washer, gasket, or insert has the same grade or corrosion behavior as the visible stainless body.
What maintenance helps?
Rinse away salt, acidic residue, cleaner, and metal particles as soon as the item instructions call for it. Remove deposits with the approved routine method, dry seams and contact areas, and do not leave wet mats, sponges, or debris against a surface. Moen’s current stainless sink care guide warns that steel wool can contribute to rust or pitting and that bleach left in contact can corrode a sink. That is maker-specific sink guidance, not a universal recipe for every stainless product.
Never use steel wool, a wire brush, a power tool, bleach, or an acid mixture as a default response to a suspected crevice. Those choices can scratch, embed iron, attack a finish, damage a gasket, or leave a residue. If a cleaner is necessary, the exact maker and product label must permit it for that surface and use.
When should you stop using the item or call a professional?
Stop using a food-contact, pressure-containing, load-bearing, or safety-critical item until the maker or a qualified professional evaluates deep pitting, an open seam, cracking, flaking, perforation, a leak, a sharp edge, a separating layer, or a damaged gasket or seal.
For a food-contact surface, the FDA Food Code’s smooth, corrosion-resistant, easily cleanable standard is a useful safety boundary, not proof that a household item passes inspection. Do not keep using a vessel simply because a cleaner removed the color. Metal loss, an inaccessible crevice, an unknown coating, or a compromised seal can affect cleanability even when the surface looks better.
Ask the manufacturer for the exact material, finish, replacement part, and service path. A corrosion engineer, qualified fabricator, or other appropriate specialist may need the alloy, joint design, chemical exposure, temperature, and photos of the dry condition to assess the cause. Do not drill, weld, peen, glue, grind, or chemically passivate the item at home.
The stainless steel waterproofing guide explains why water resistance depends on grade, finish, crevices, other components, chemistry, contact time, and care. That same boundary applies here: a stainless label is not a complete service specification.
Frequently asked questions
Can you identify crevice corrosion from a photo?
No. A photo can show the location and apparent change, but it cannot establish whether a mark is a deposit, transferred iron, pitting, coating damage, hidden metal loss, or a failed seam. Inspect the dry item under the exact maker’s instructions and escalate structural or food-contact damage.
Does 316 stainless steel prevent crevice corrosion?
No. 316 can offer better resistance to chloride-driven localized corrosion than common 304 in many applications, but geometry, finish, temperature, exposure, fabrication, and maintenance still matter. No grade makes every crevice immune.
Can cleaning repair crevice corrosion?
Cleaning can remove deposits and reduce the conditions that support attack, but it cannot replace metal lost to a pit, repair a crack, restore a failed gasket, or certify a passive layer. Do not use a stronger household chemical or an improvised passivation treatment as a substitute for assessment.
Is corrosion under a gasket always crevice corrosion?
No. A gasket can create a crevice, but the mark may instead be transferred iron, galvanic attack from another component, residue, gasket breakdown, or a different corrosion mechanism. The exact geometry, materials, environment, and surface condition need to be assessed together.
Bottom line
Crevice corrosion is localized attack that can develop where stagnant moisture, restricted oxygen, chlorides, and a shielded stainless surface meet. Keep seams and contact areas clean and dry as the maker directs, avoid improvised abrasives and chemical mixtures, and treat pits, open seams, leaks, cracks, flaking, or damaged food-contact surfaces as reasons to stop use and seek exact-model or professional assessment.